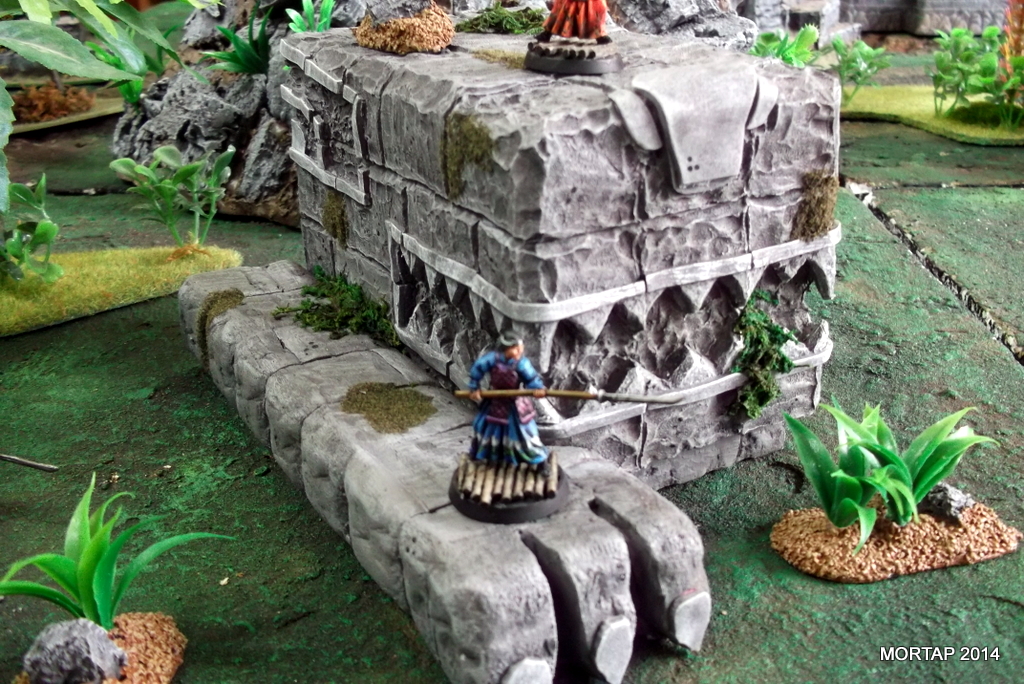
Once again, we show you a fantastic tutorial by MorTap, who teaches us how to prepare some interesting scenery elements inspired by Centro-American cultures. Using cheap materials and easy techniques, we can prepare an outstanding game table!
From Mortap:
My idea was to prepare a small monument for the Scratch Attack scenery conquest, focused on the Nemesis game. But I wanted to take advantage of this work and use these elements in other games closer to me, such as Bolt Action (at some point I should learn the rules).
With so much time to think, and no so much time to build, the project gets out of my hands, and from the original idea of only one piece, I finally prepared a big Temple. Lastly I had to give up the Project, because I’ll be adding more and more elements in a neverending construction madness! 🙂
 The materials I have used are too easy to find:
- Polystyrene for insulation purposes: it’s too dense and therefore too easy to work, and importantly, is cleaner than the typical “white cork”
- Natural cork
- Some “white cork” pieces to use like filler
- Eva rubber to decorate the animals
- Plastic vegetation from asian suppliers
- Plastic remnants from a plastic banner
Now, be prepared for the construction phase.
THE FRONTAGE
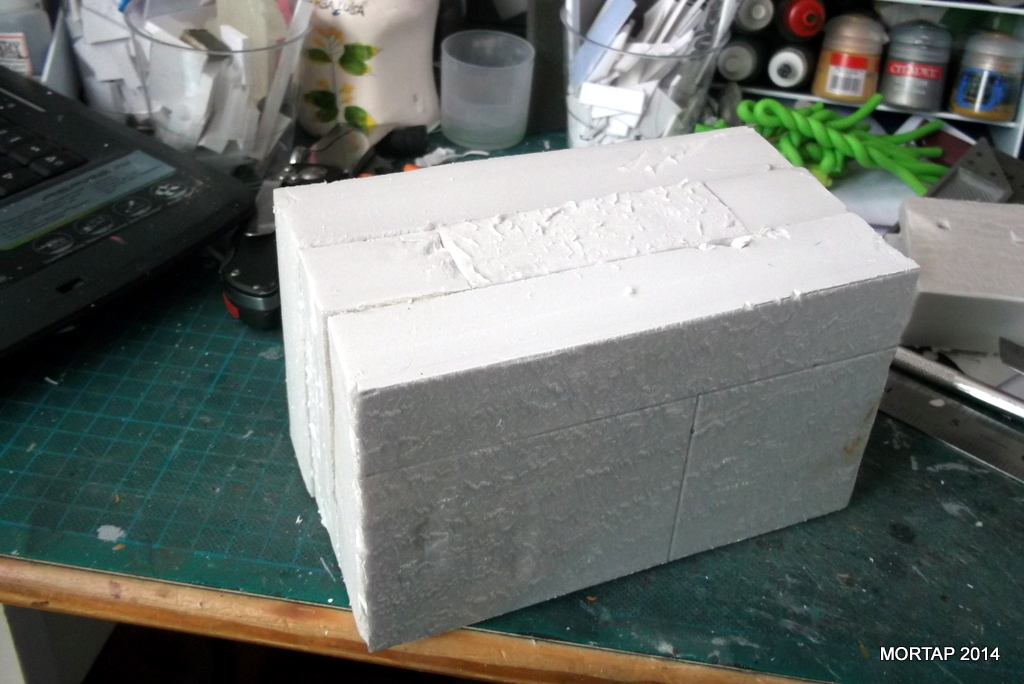
I use two pieces of polystyrene: 8×8 inches (floor) and 8×6 inches (frontal). First of all, we mark the bricks with a rule and a pencil.
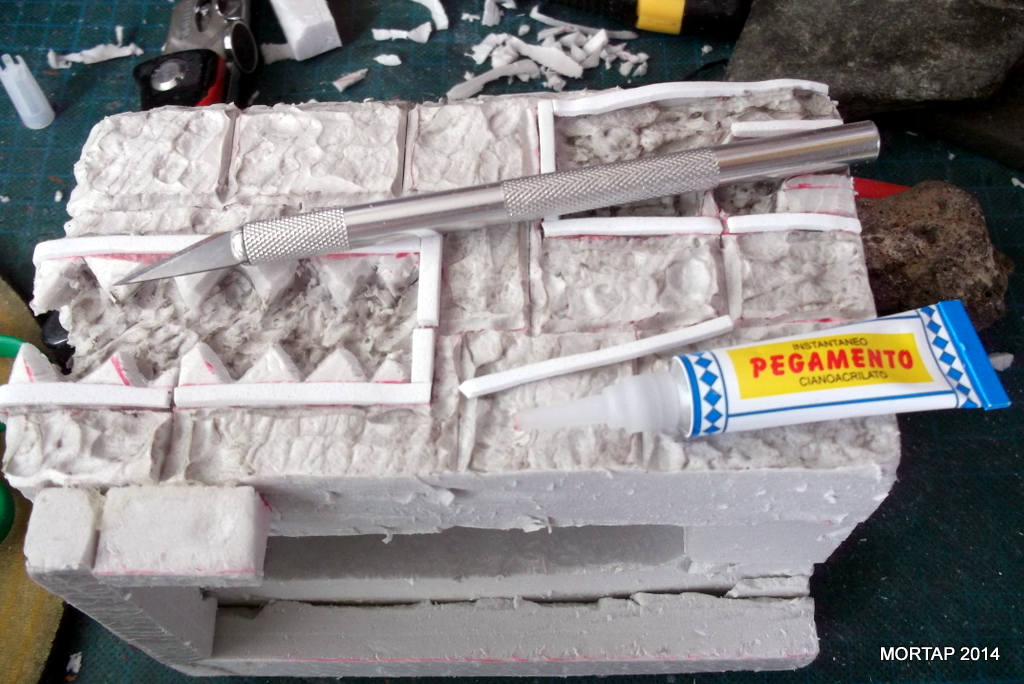
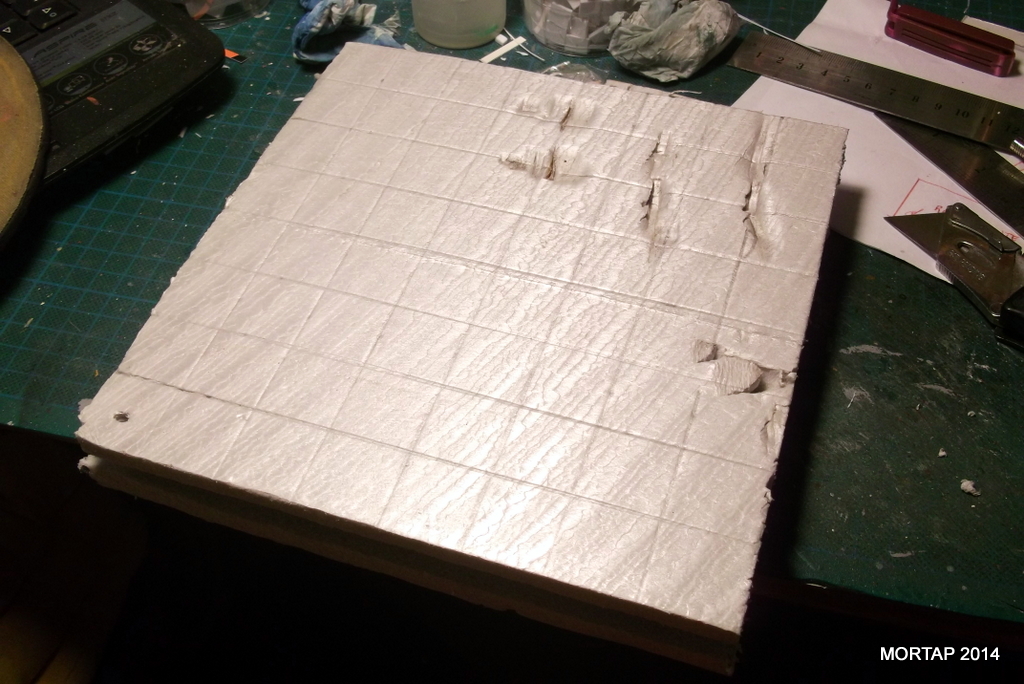 Then, using different tools, like rocks, we create the texture on the surface.
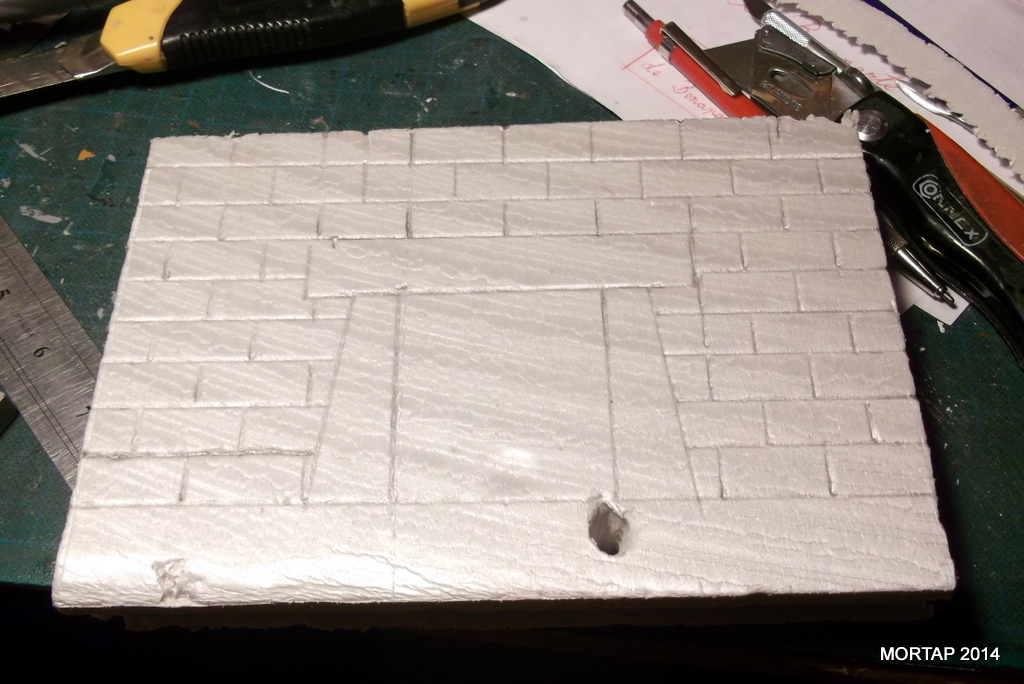
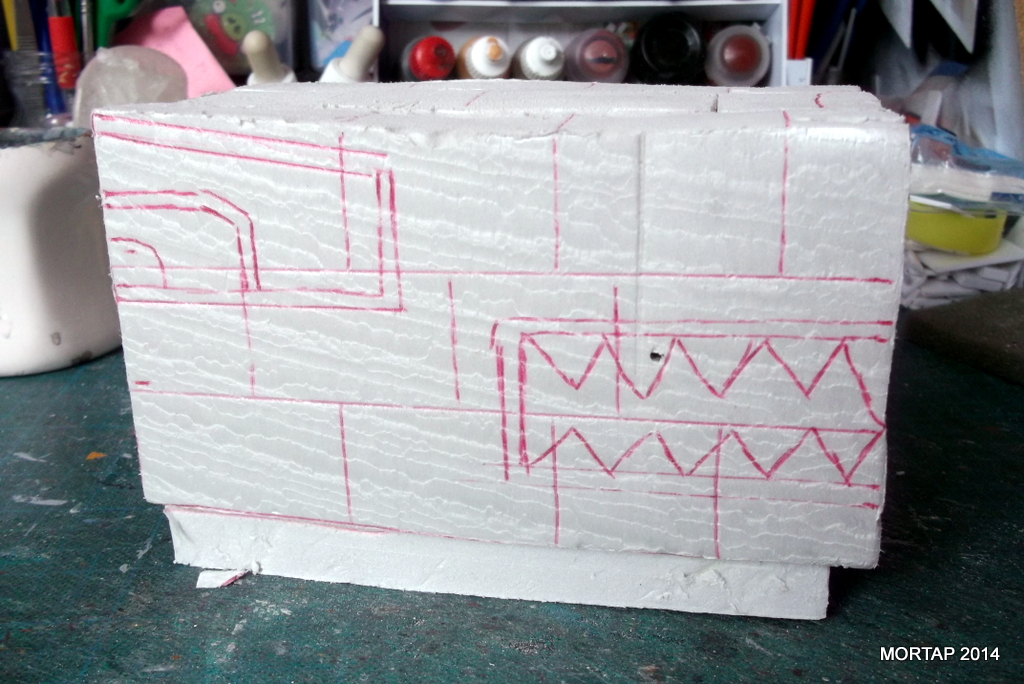
 In the frontal piece we use the rule and pencil again to mark the bricks, and this time, a door.
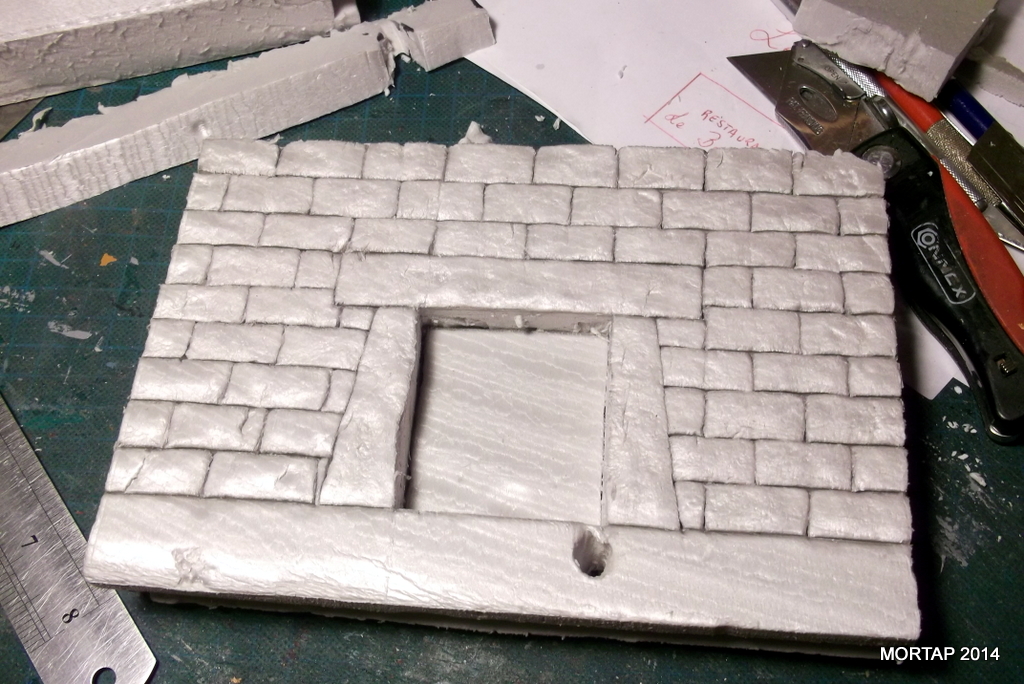
 We remove the internal space of the door.
ANIMALS
We use two pieces of polystyrene of 4x4x6 inches (head) and another two pieces of 8×2,5×1,5 inches (leg). And we will need the eva rubber. First we put together the head pieces to create the superstructure.
 Then we mark the form of the animal and bricks with a pencil.
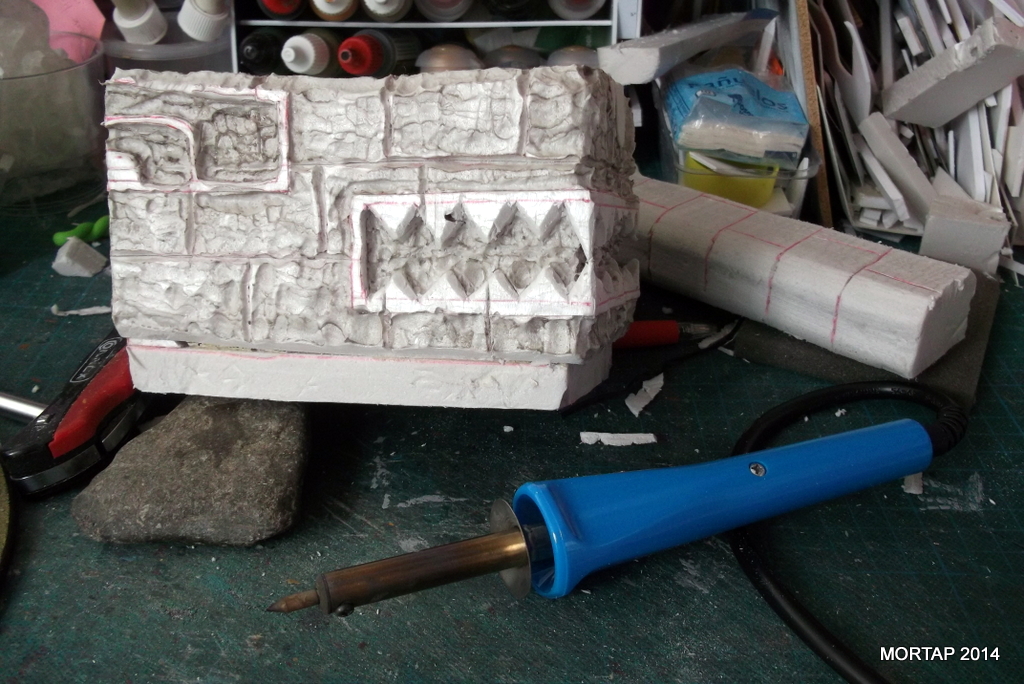
 With a welder we sculpt the shapes of the animal and create the texture of the rock.
 We use the eva rubber to create additional details. We can glue it with cyanocrylate glue.
 Now we prepare the legs.
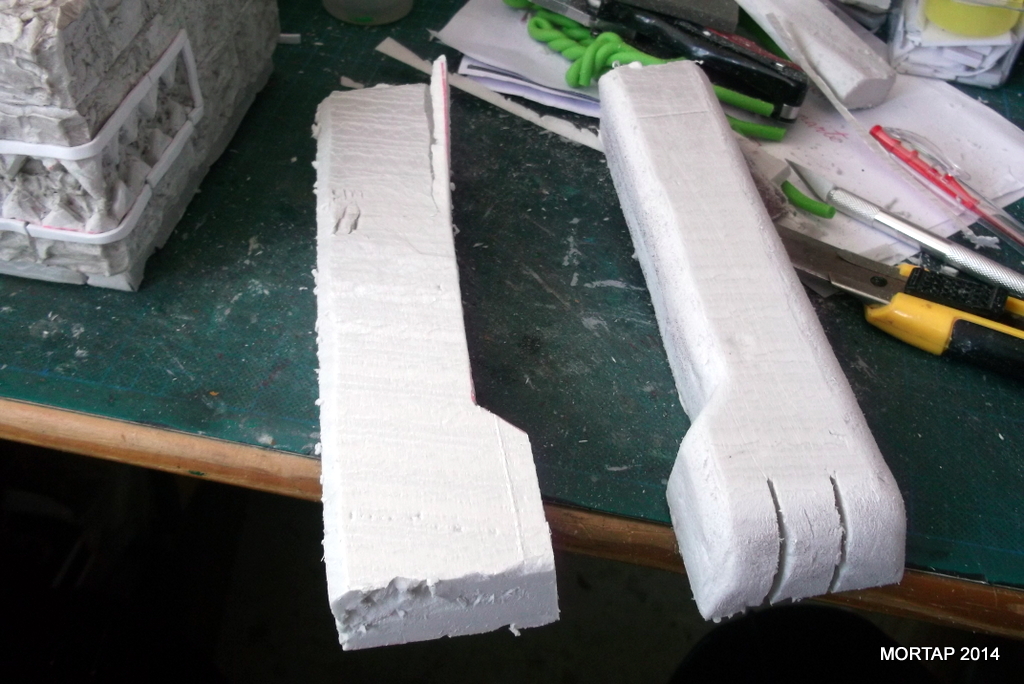 Repeating the same process, we mark the bricks and then we create the texture.
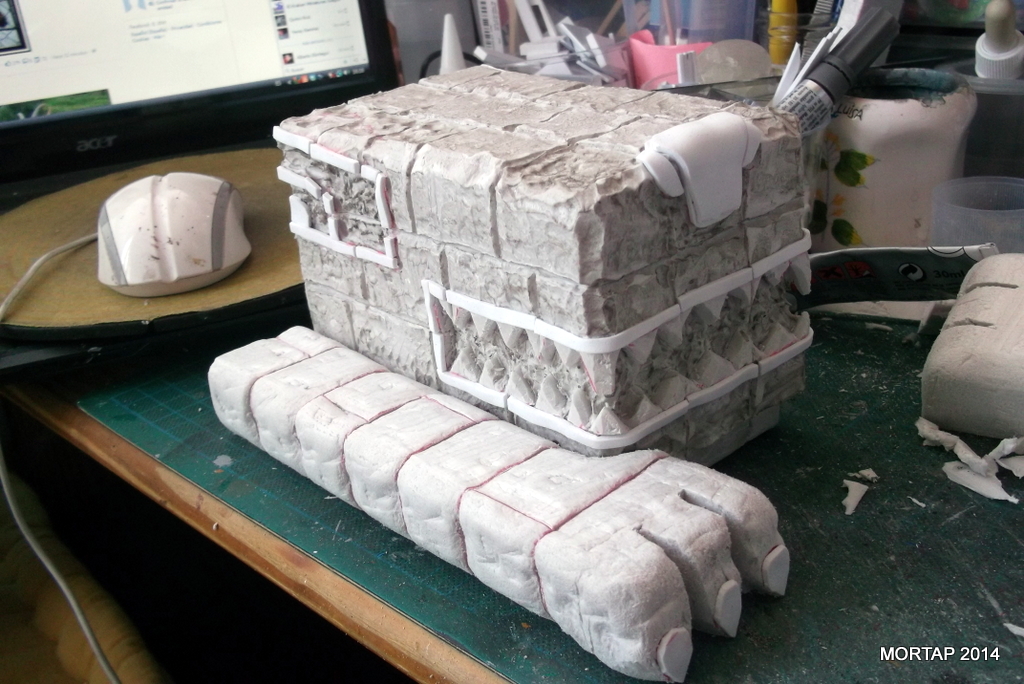
Next week we will publish the second part.