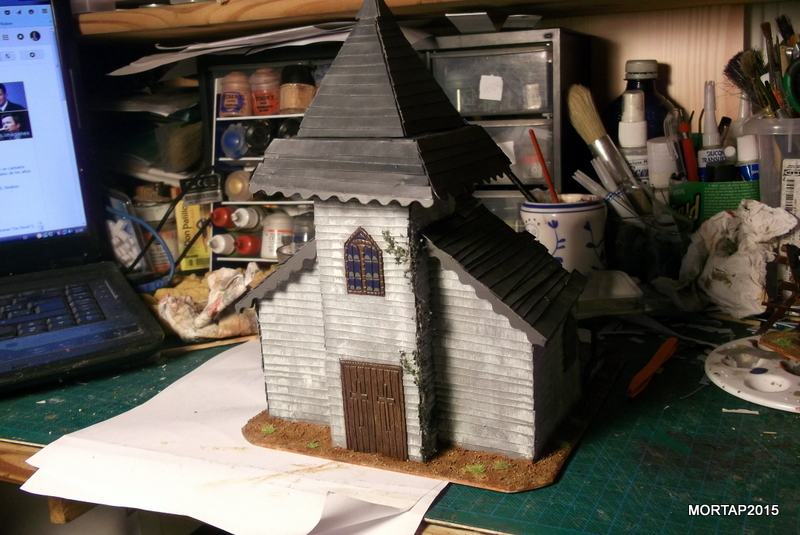
Quoting Pablo Picasso, “the inspiration arrives while working”. Nevertheless, it was not true for our friend MorTap, who was watching the second episode of the brilliant TV show “True Detective” when he saw a very enigmatic burned church. That was enough to fire up his inspiration; and three days later, a new church found a place on favorite Mortap’s shop, “El Kraken” in Canary Islands. So, take a look at this work from MorTap:
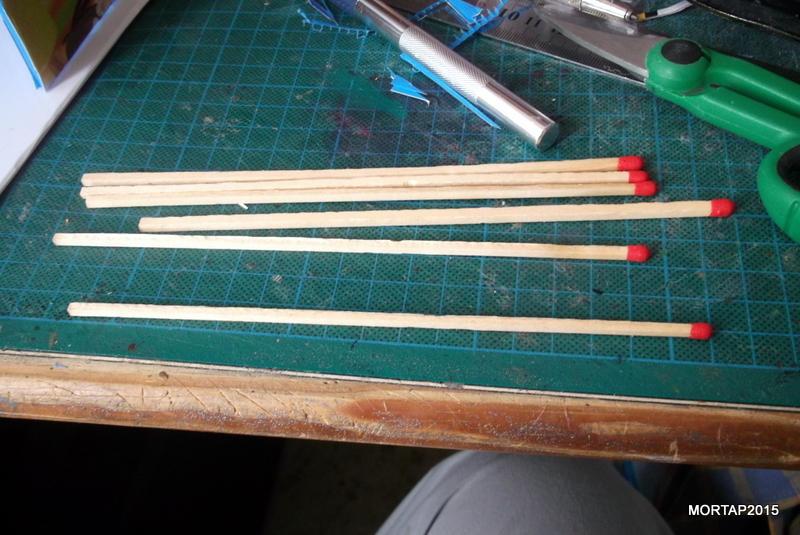
I found very cheap stuff to build it: an ice cream plastic banner of 3mm, big matches, cardboard of a cereal box and foamed PVC of 2mm for windows and doors.
To prepare the base, we will cut two pieces: one for the building (20 x 17 cm) and other one for the destroyed roof (13 x 10 cm).
To build the church we will need:
-
Church side walls: 2 pieces of 8 x 7 cm
-
Church frontal walls: 2 pieces of 10 x 5 cm for the frontal walls
-
Tower side walls: 2 pieces of 15 x 4,4 cm
-
Tower frontal wall: 1 piece of 15 x 5 cm
-
Tower rear wall: 1 piece of 5 x 6 cm
-
Tower big roof: 1 piece of 5,5 x 5,5 cm
-
Tower small roof: 4 pieces of 5 x 7 cm
-
Church roof: 4 pieces of 6,5 x 2 cm
 ç
ç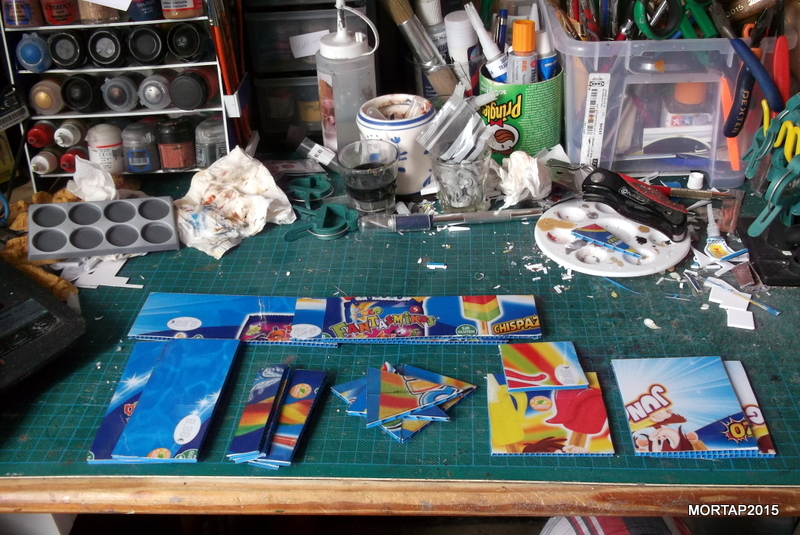
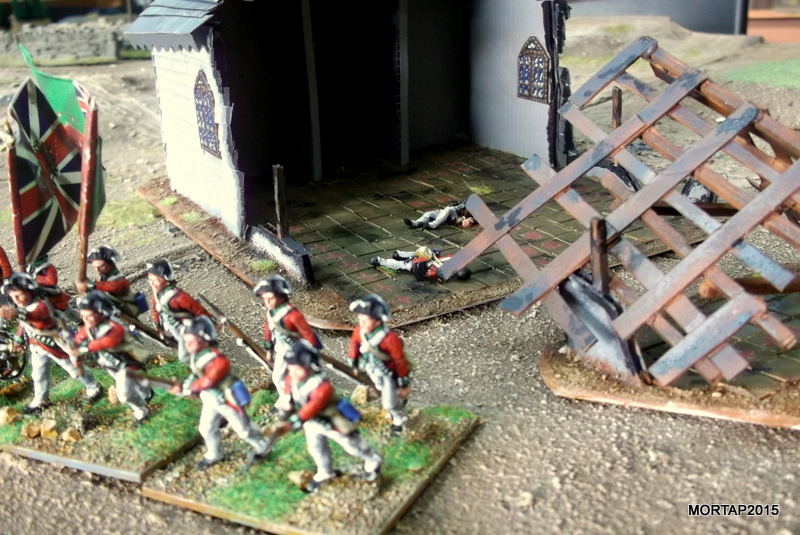
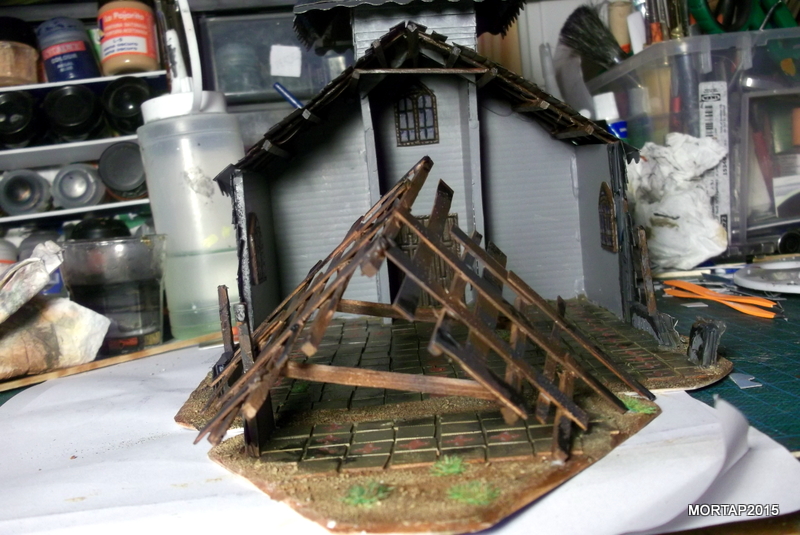
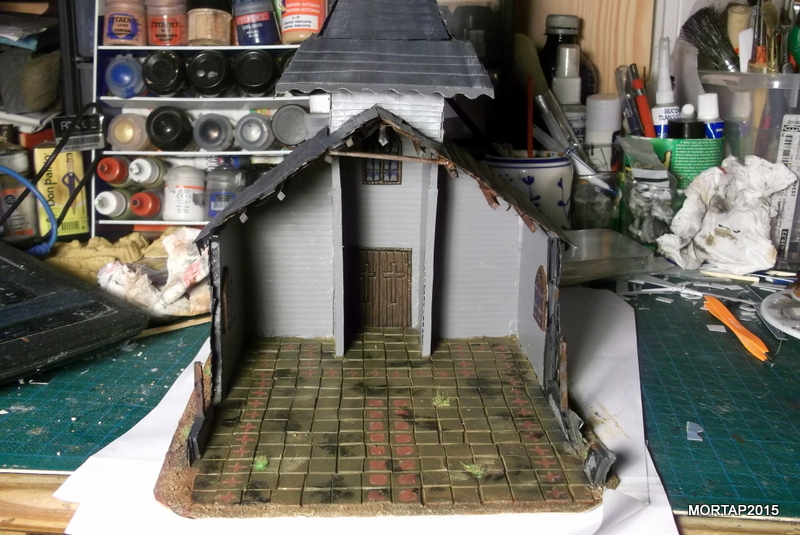
While I am working, I usually modify the original idea. This is quite common, especially when you are working without any real plan. Therefore, I changed the original floor of the church, where the debris have been replaced by a clean tiles base.
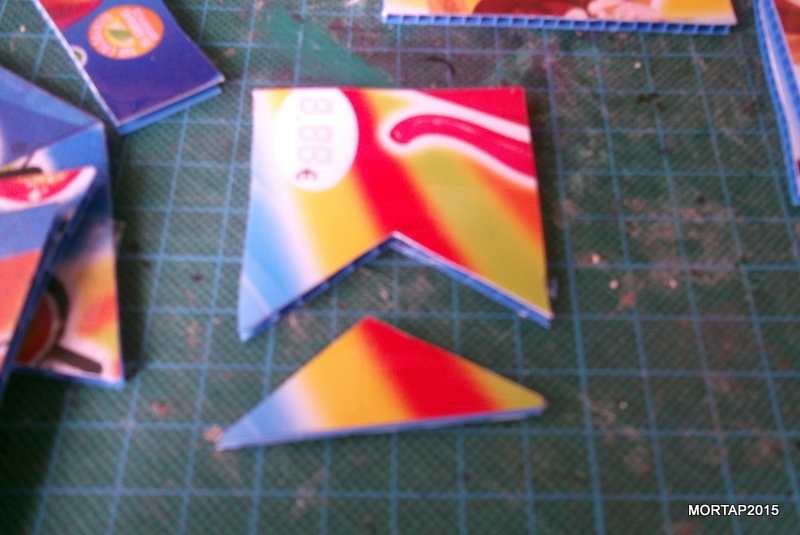
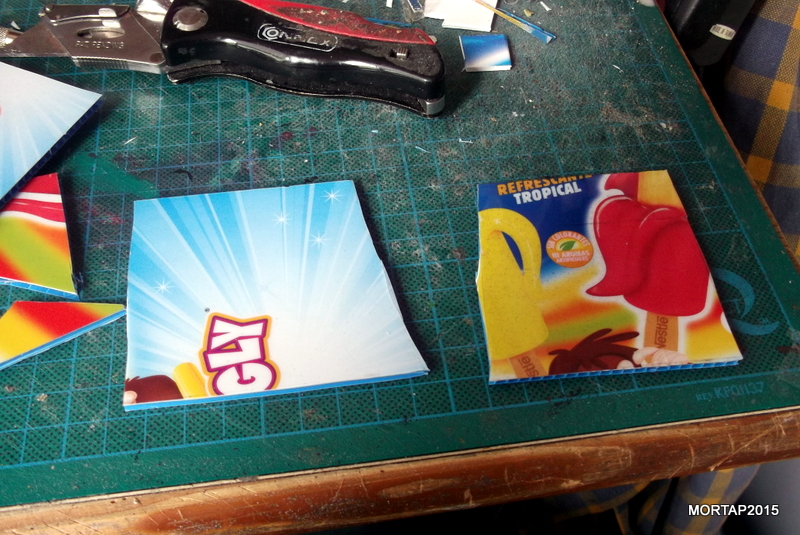
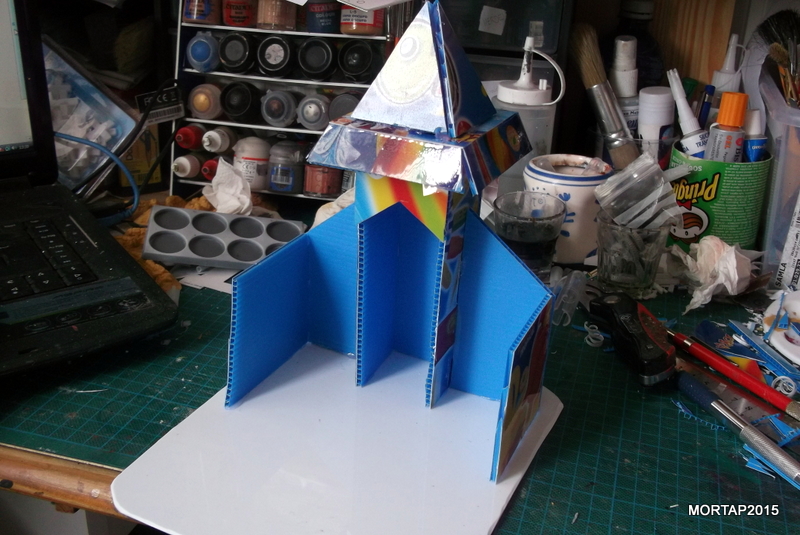
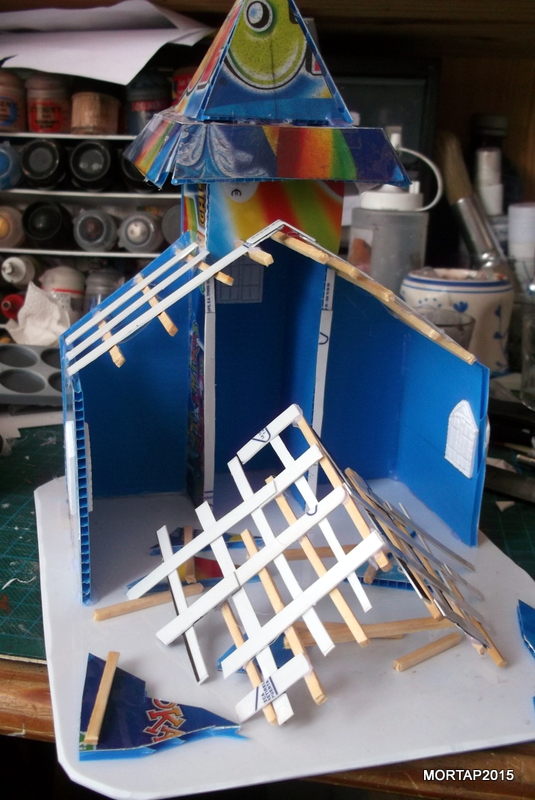
So, now we start working on the church. First we start cutting all the pieces following the pictures (note, taking into account the position of the roofs). In addition, we will work more specifically the church side walls (8 x 7 cm pieces), where we can make weird cuts to simulate the destroyed or burned part. The four 5 x 7 cm pieces will be transformed into triangles to build the tower roof. And finally, the 6,5 x 2 cm pieces will be transformed into trapezius of 6,5 x 2 x 5,5cm.
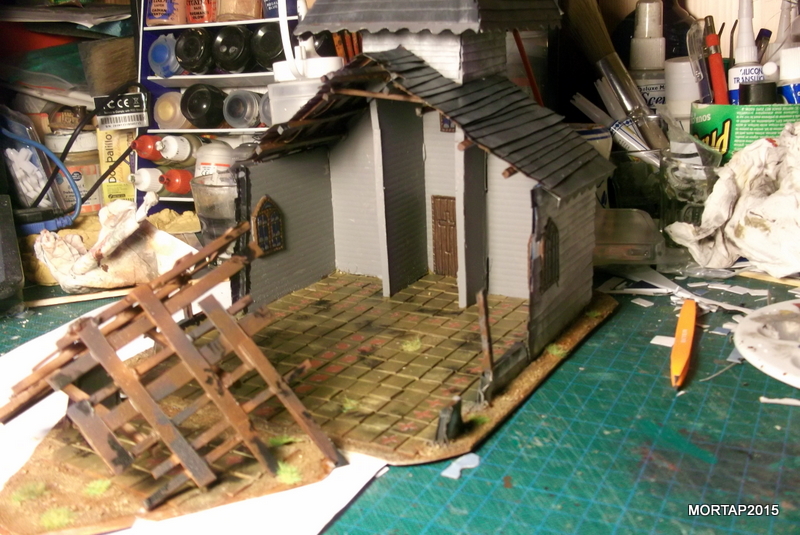
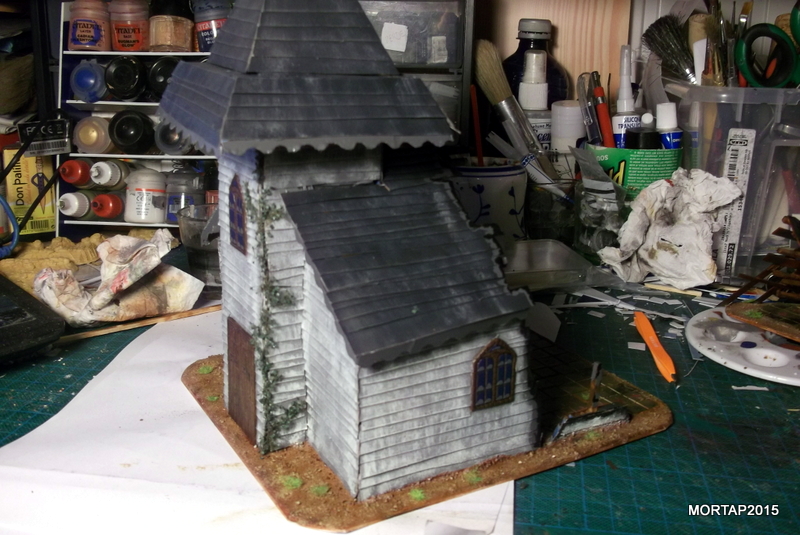
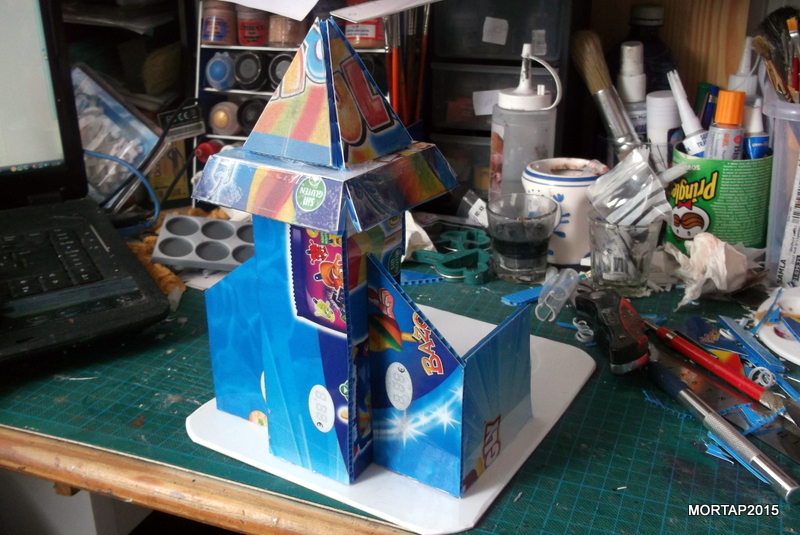
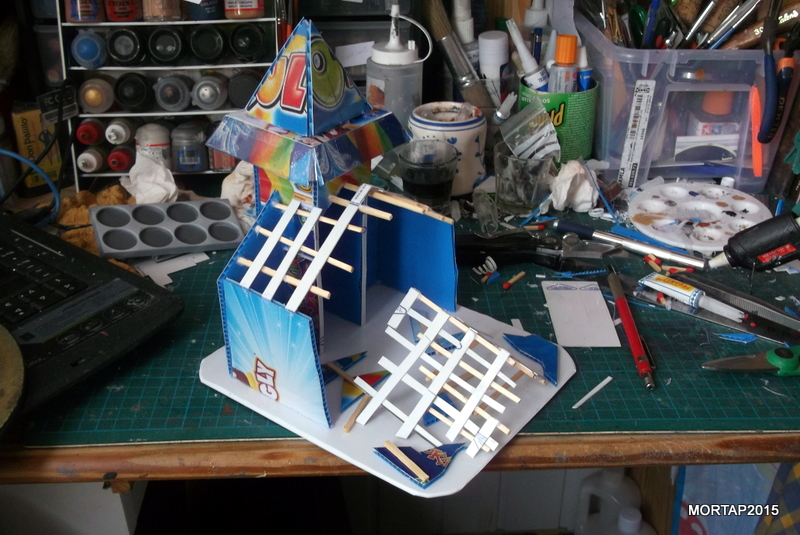
Now we put together all the pieces and the result should be similar to these pictures:

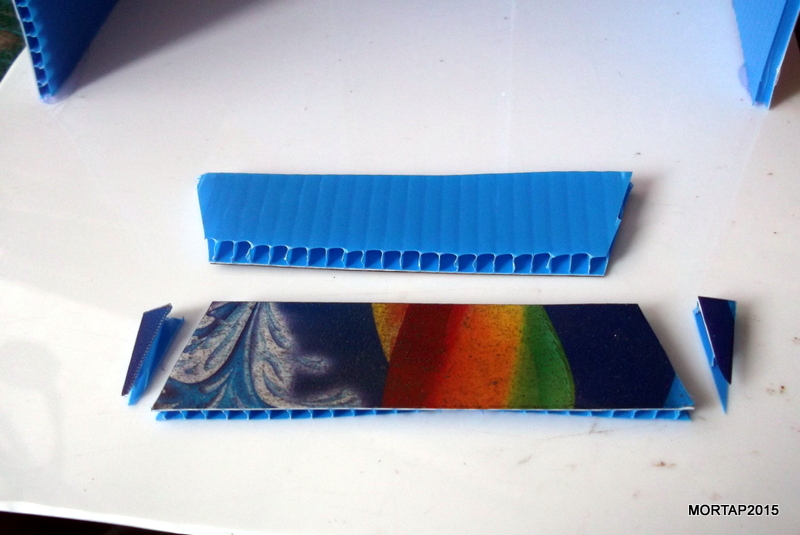
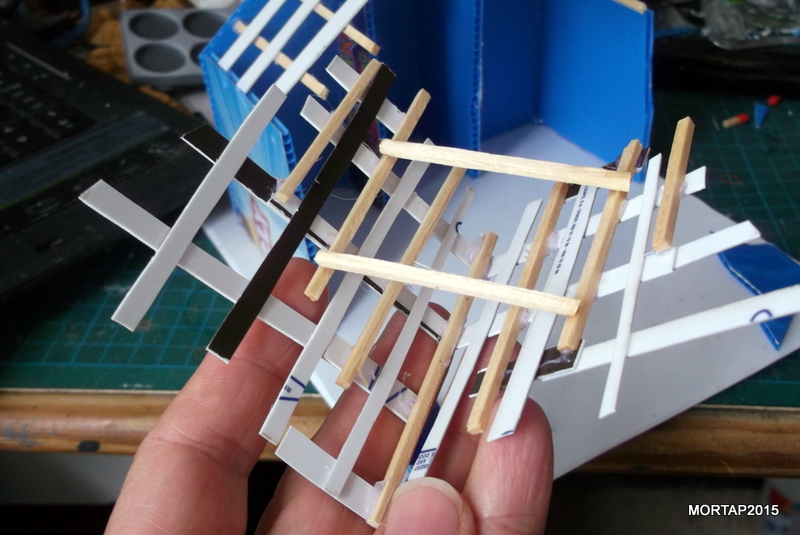
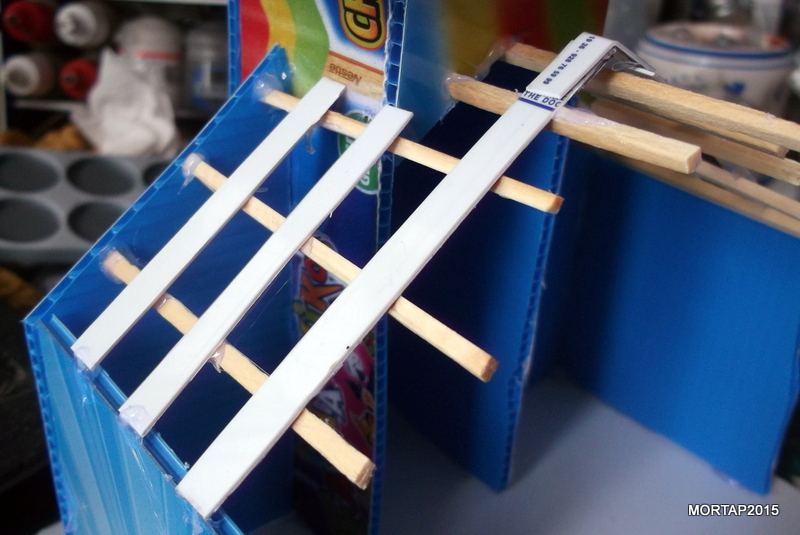
We can also use a heat welding gun to glue the different pieces. It would be more resistant! The destroyed roof is partially divided in two parts. The one on the church, and the traces on the ground. To prepare them I have built a base with the matches and PVC:
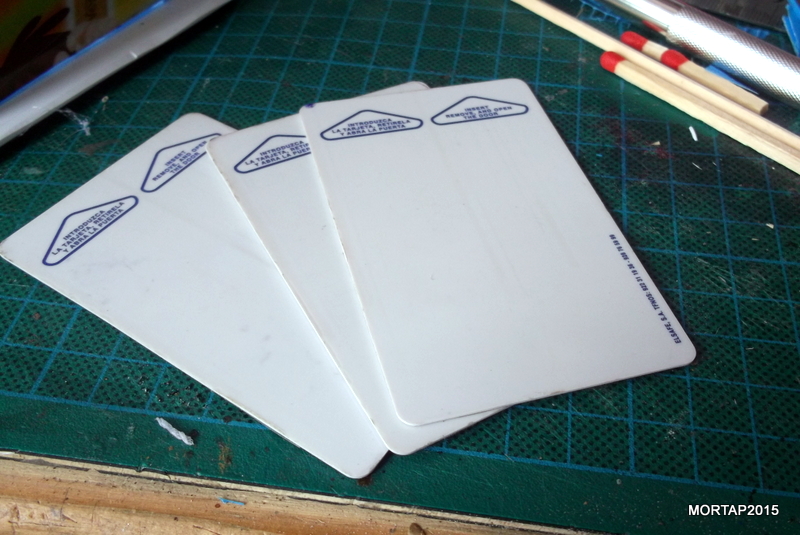

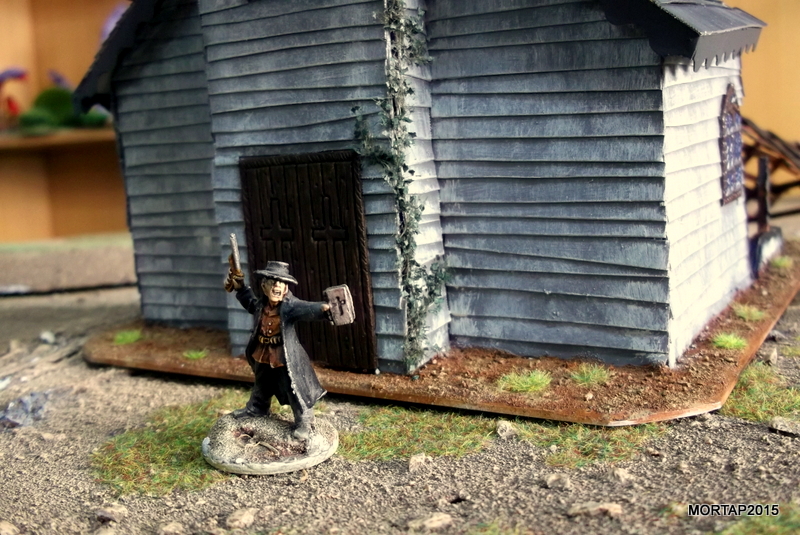
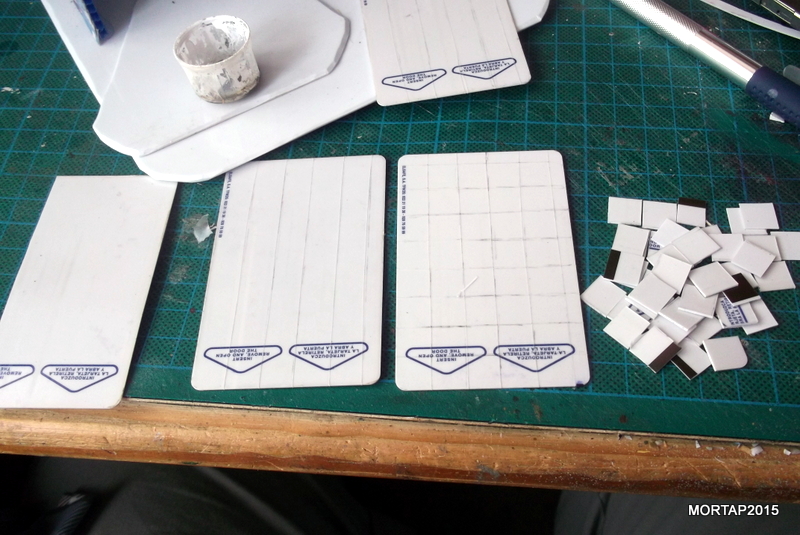
Using foamed PVC and a knife we can sculpt the windows (3 x 2 cm) and doors (5 x 3 cm), which need to be prepared by duplicate because we need to put them both outside and inside.

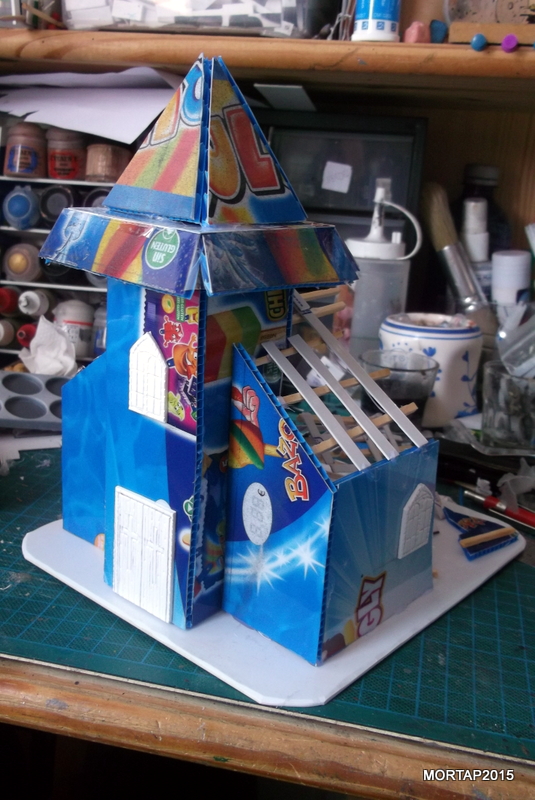
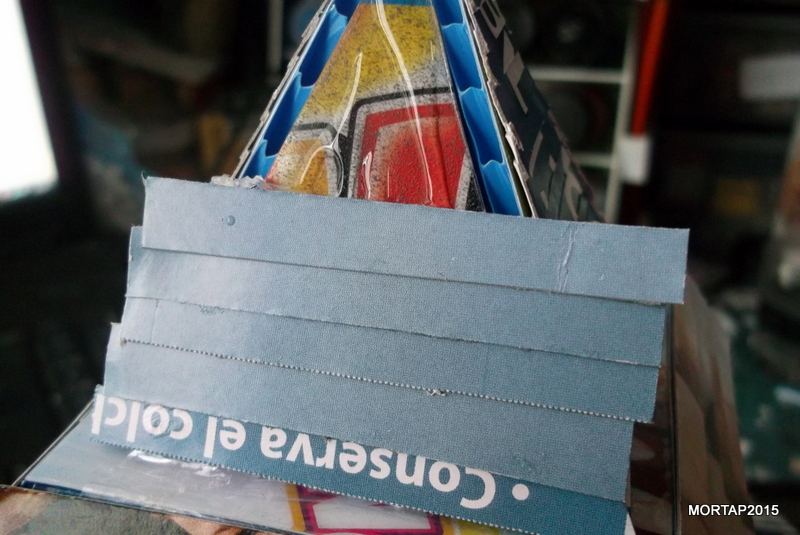
Using the cereal box cardboard we start cutting stripes of 6 or 7 mm to wrap the building and the intact roof.
We cut 1cm tiles of foamed PVC to cover the floor on both bases.
Finally, we add some sand on the ground, apply the primer and paint the building.