I think the majority of you know the “sponge technique”, usually used to simulate chipping effects. This technique is very useful, but it’s very important to control ourselves, because it’s too easy to over-simulate the effect.
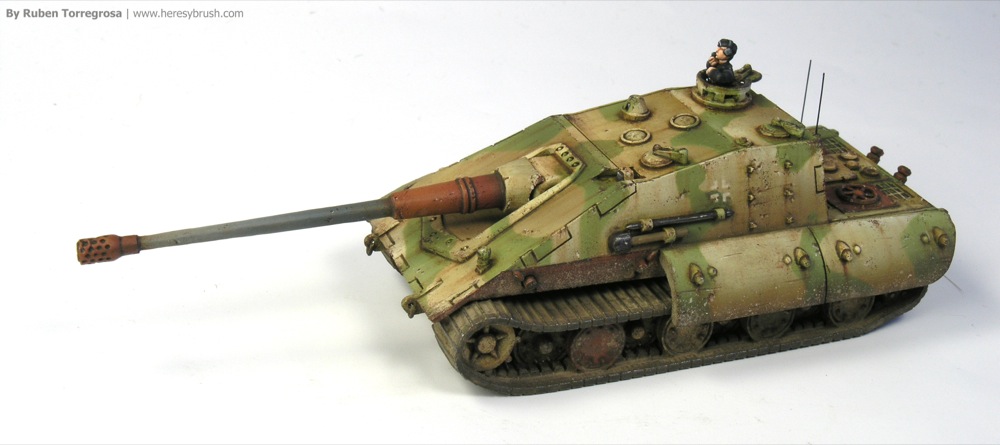
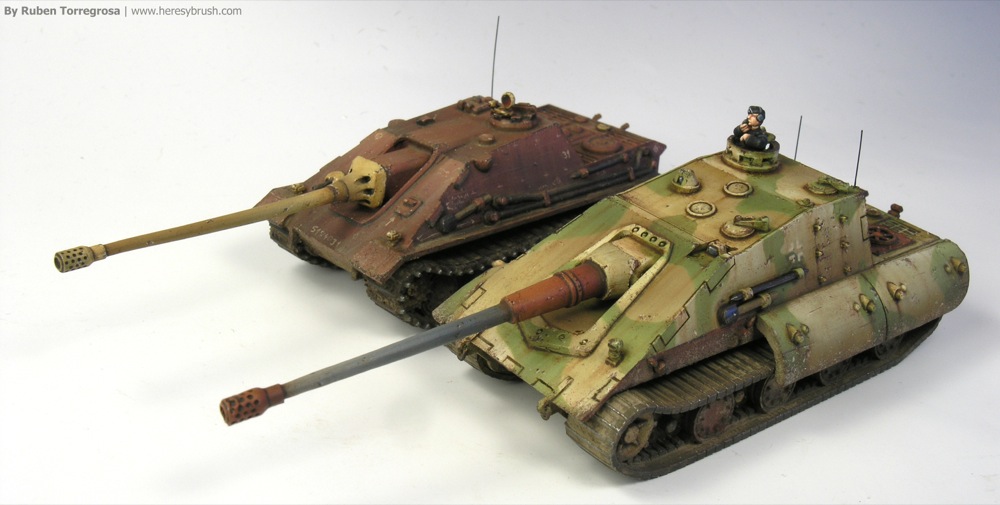
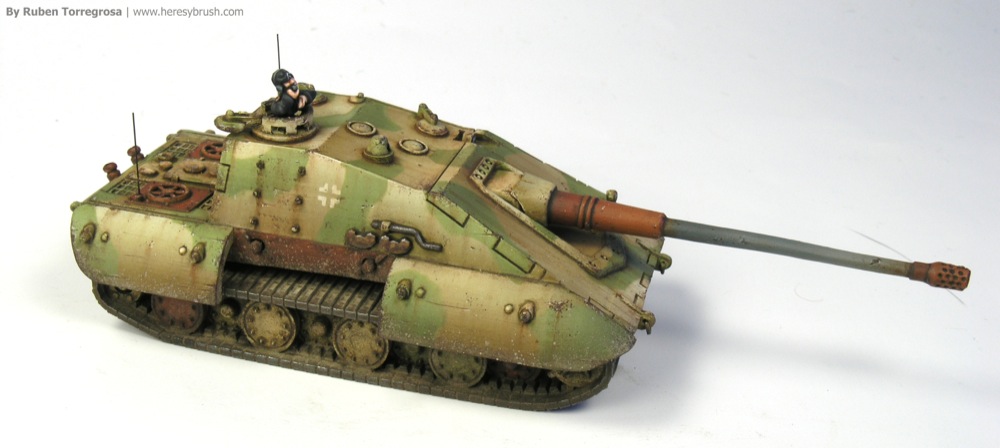
To illustrate this post I’m using a E100 Jagdpanzer from Heer46 (15mm), and I’ve decided to paint it in a bitonal camouflage with some parts in red primer. The Green color is so light, because in the last months of the war, German crews blended paints with cal in order to increase the paint amount. So the colors were lighter than the usual ones.
I want to comment two different ways to get chippings: brush and sponge. Although the results of them can be similar, I think they are too different (for example, we can get absolutely random dots using a sponge). I usually combine both tools, because I like getting a mixed result.
The sponge. With a sponge we can simulate random dots in concentrated areas. This tool is very useful to simulate weathering effects in areas widely used, such as hatches, or zones highly exposed, such as the German schürzen and edges. We can use directly a sponge chub (from a miniature blister). There are sponges with different pore size, but is not really important. I usually use a small fragment taken with tweezers. To use it, first we charge the paint and then we remove the excess on a paper. After obtaining an interesting effect on the paper (size and intensity), we can apply it directly on our vehicle. BEWARE, because it’s very easy paint too many chippings. Remember, sometimes “less is more”. I usually apply a very small amount of chipping with this effect.
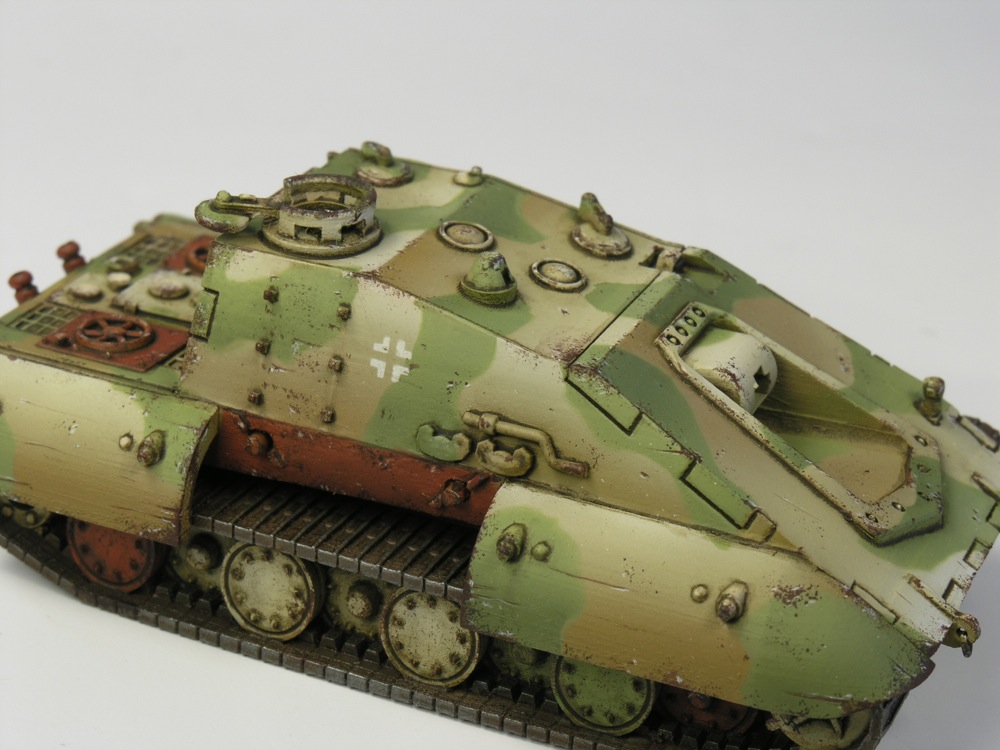
The brush. This tool is perfect to complete the first layer of chippings applied with the sponge. We can do different things with a brush. For instance, I usually paint bigger chippings, repair some ones, paint scratches, paint chippings in areas where it’s impossible to access with a sponge, etc. Anyway, I recommend using the paint a little diluted.
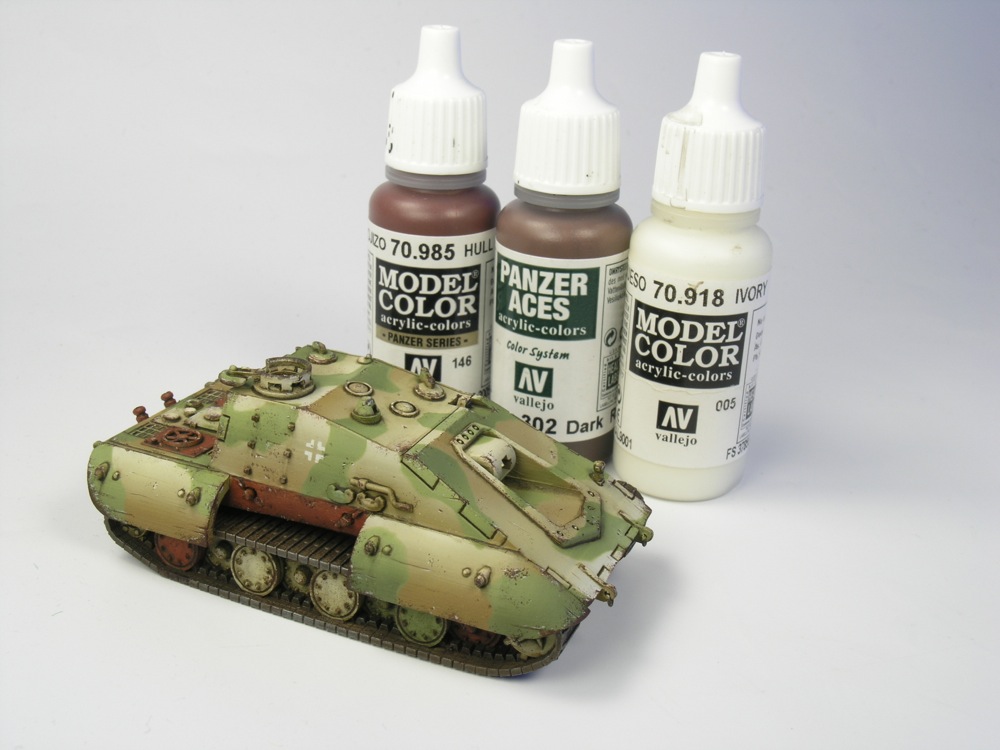
About the color, I usually use a dark brown. You can mix flat brown and black. Or directly use dark oxide 302 (Panzer Aces, Vallejo). Also, you can paint a thin line in a light color in order to confer more contrast to the chippings, and deeper ones.
We have a lot of possibilities, and you can try out different ways and find your own method!.