Finally, the second part of the fantastic scenery element, The Lost Temple, created by MorTap. In this post you can find how to build mountains and the frontal part. You have to see it!.
 Here you can find the first part: The lost temple – Part I
From Mortap:
MOUNTAIN
To build this element we will need:
- Four 8x8x8 inches FOAM pieces
- Plasticard pieces for the floor
- White FOAM like filler
- Natural cork to recreate the rocks
- Filler putty
- Plastic plants to decorate
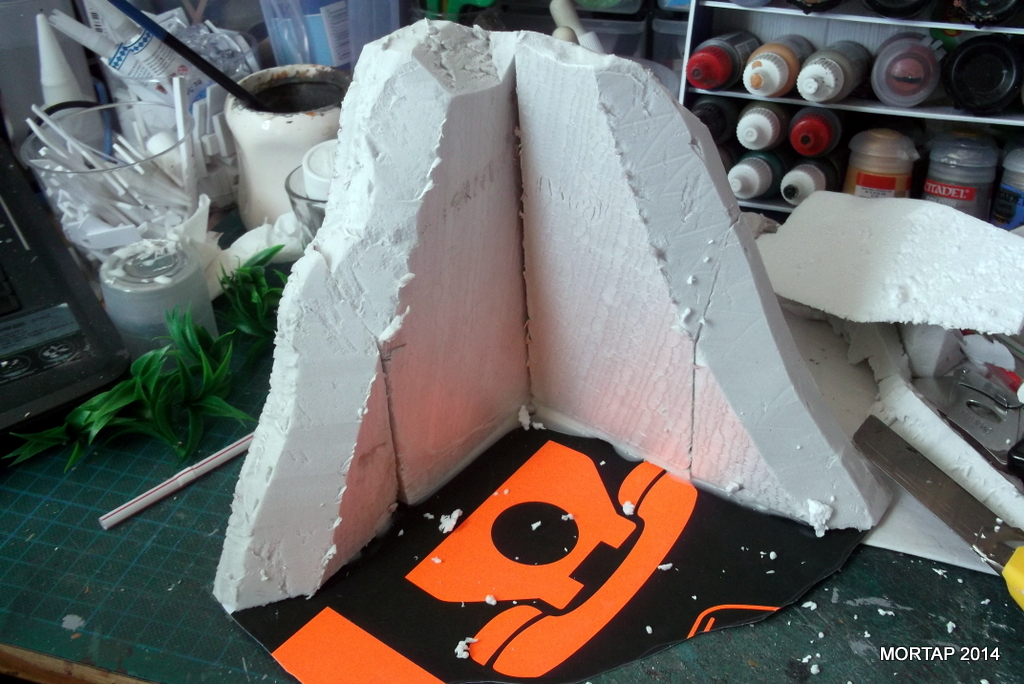
We’ll prepare two mountain elements to flank the temple. First, we prepare the structure of each mountain with two pieces with an L shape.
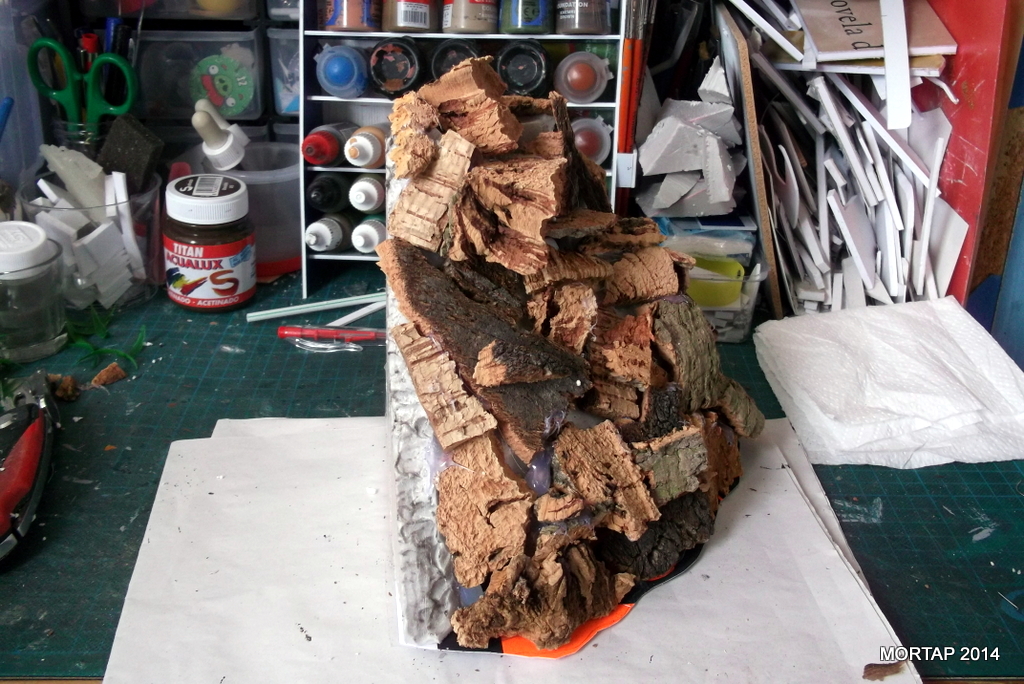
 Then we fill the L with natural cork to create a rock aspect. We use white glue to easily fix the cork.
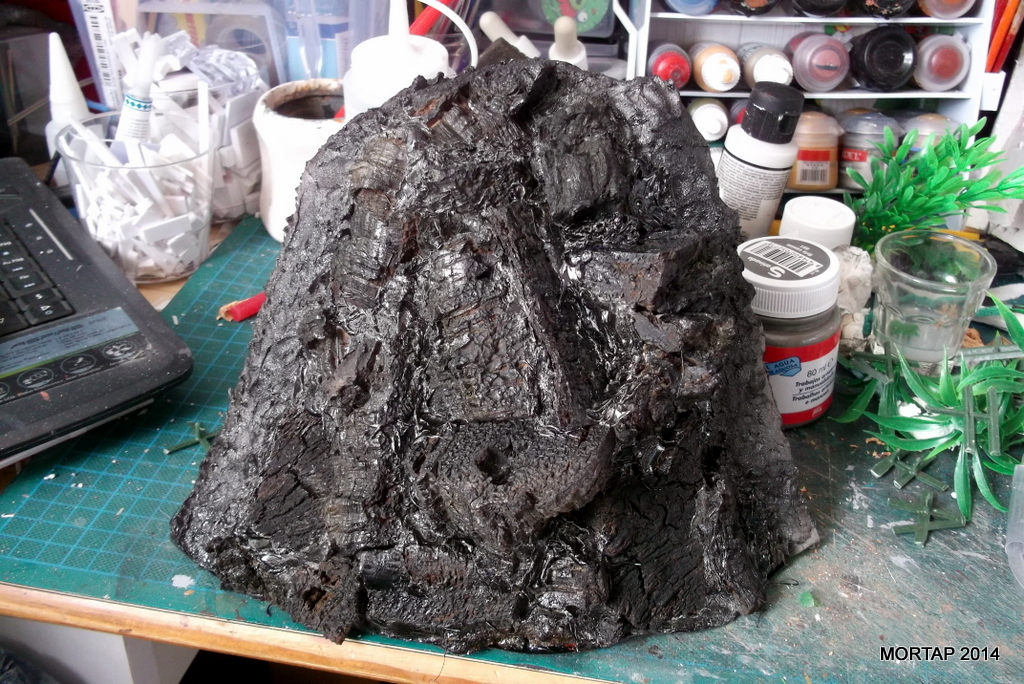
 We fill the spaces between corks with filler and we create additional textures.
 Once it’s dried, we prime the element with black, for example. Then we paint the full element in grey and brown colors using the dry-brush technique.
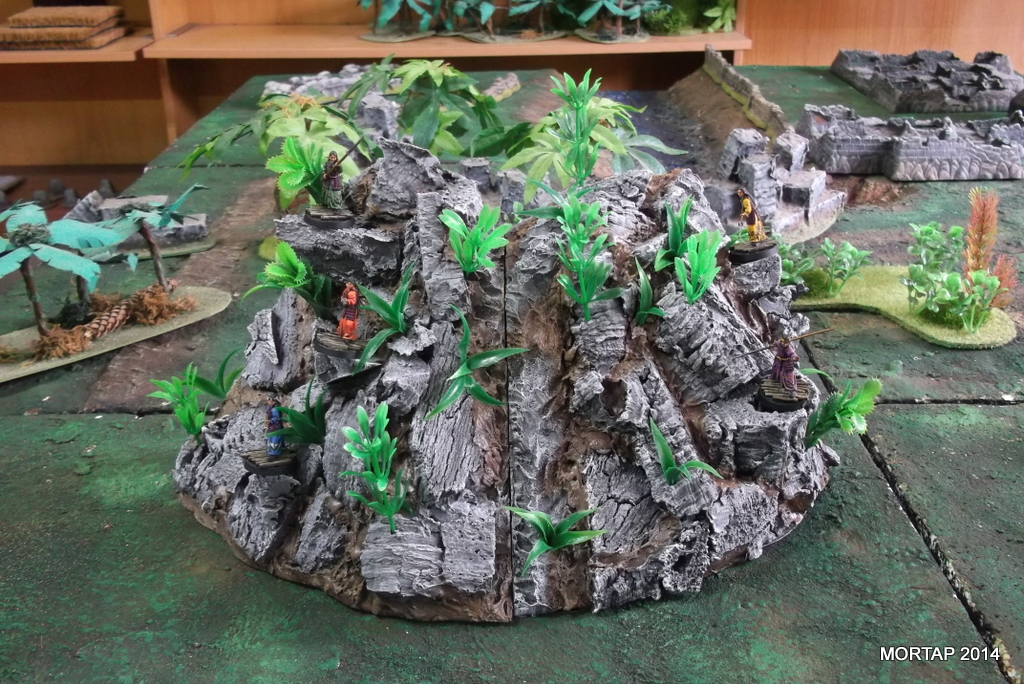
 Finally, we use some plastic plants to give life to our model.
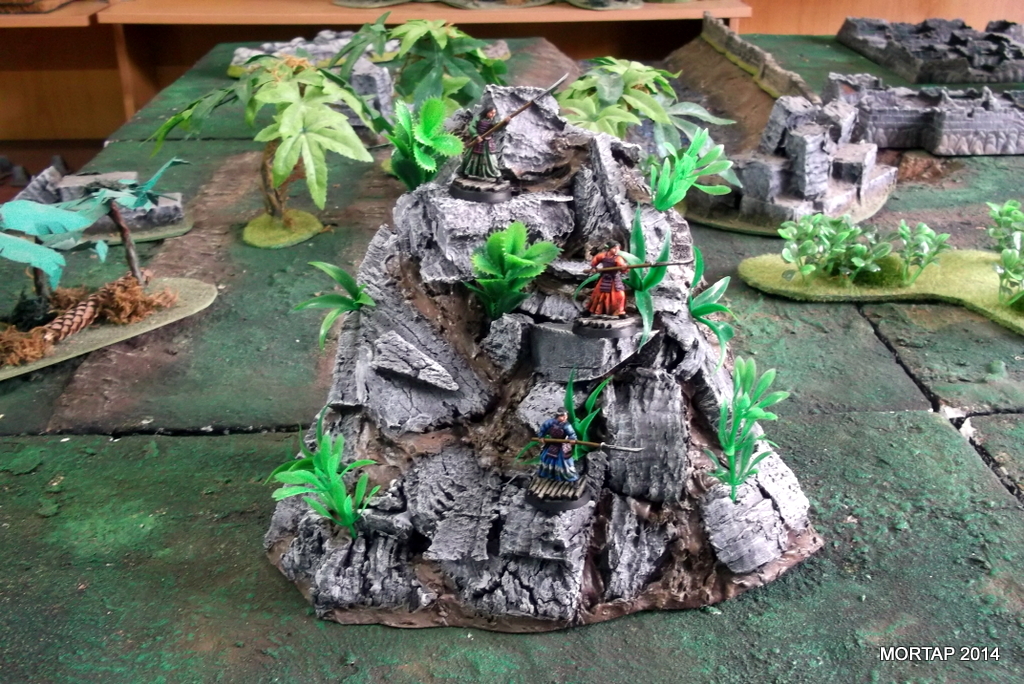 And this is the the final result. As you can see, both elements fits perfectly one beside the other.
FRONTSPIECE
To build this element we will need:
- A 8 x 2,5 x 1 inches FOAM piece for the wall
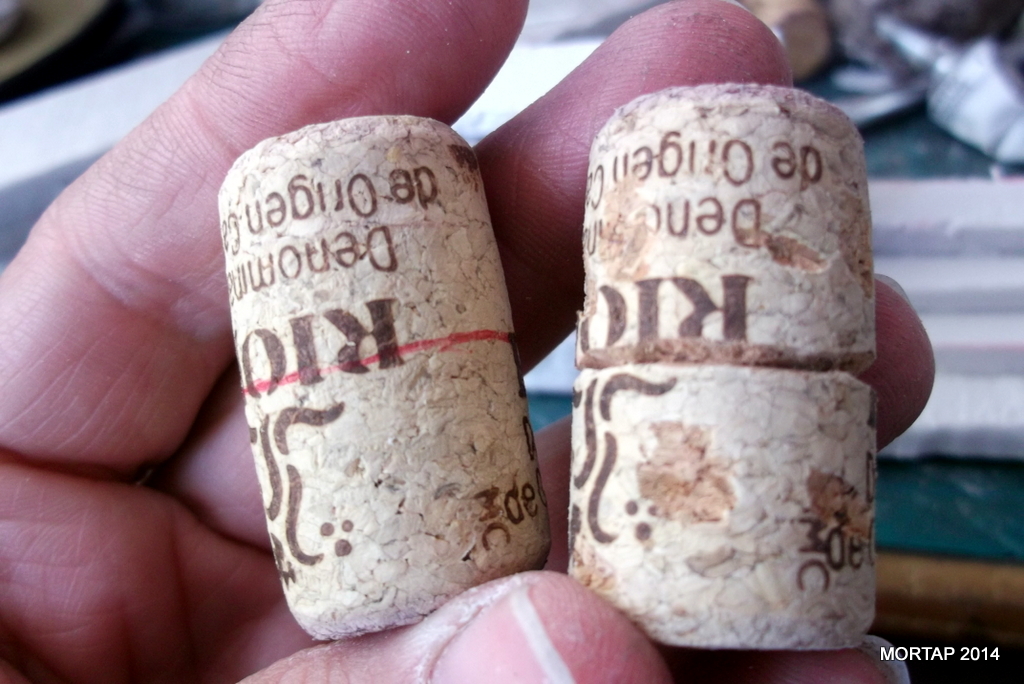
- Four natural cork taps (from wine bottle) for the columns
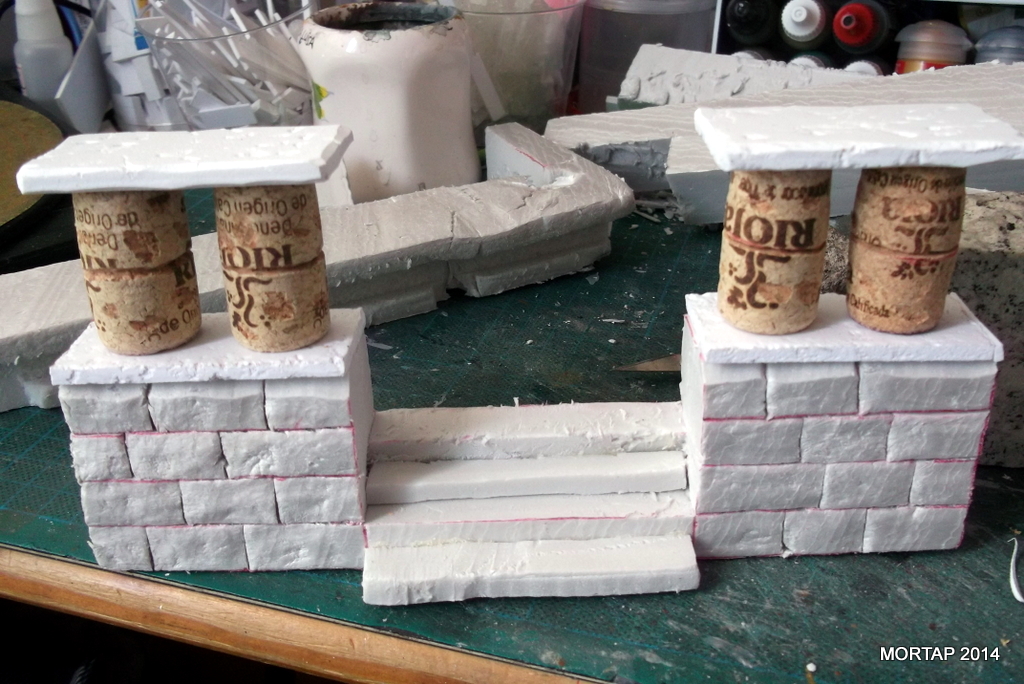
- Four 6 x 4 x0,4 inches FOAMED PVC for the trims
We prepare the stairs in the middle of the wall. We can also sculpt some bricks. With the remaining pieces we can prepare the stairs.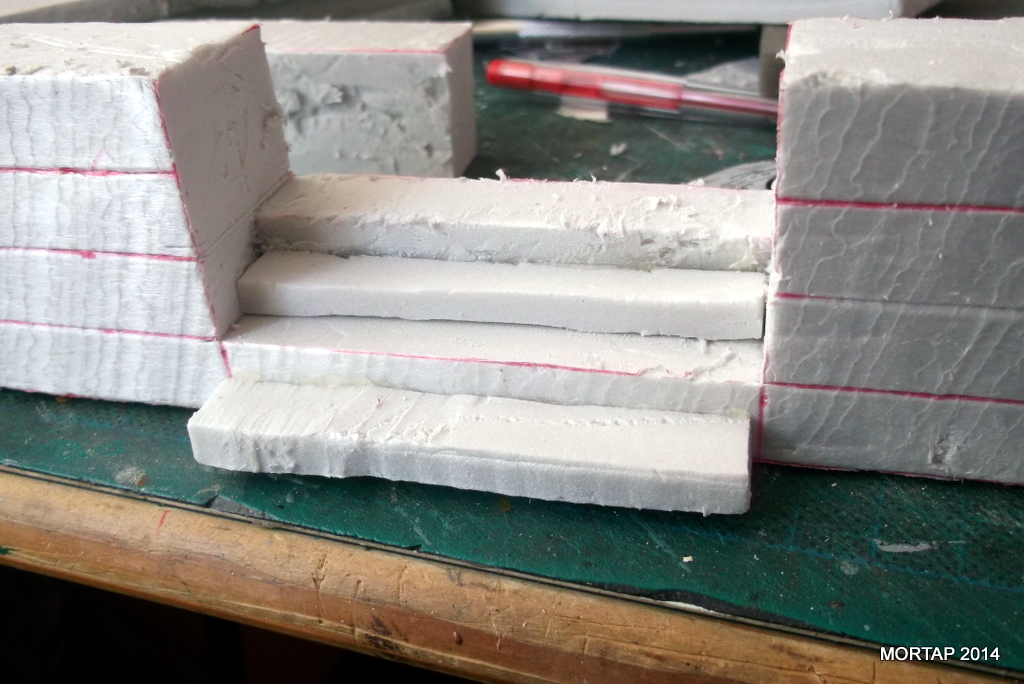
With the cork taps we prepare the columns by sculpting some details in the middle.
 Finally we can sculpt some details in the FOAMED PVC to recreate the trims on the top of the columns
 Here you can see the whole complex once is finished.