We have a new brilliant work from MorTap (you can visit his blog here). He shows us how to scratch build a couple of italian tanks with foamed PVC and other regular materials. Now you don’t have excuse to prepare your own armoured force!
 Hello everybody. In this tutorial we are going to build two italian tanks in 28mm (1:56): Semovenete 75/18 and Carro Commando. The idea is to use them to play Bolt Action.
The most part of the people prefer to buy a tank rather than to scratch build one. However, it’s a pleasure to play with a tank create completely create by yourself. Indeed the materials are really cheap and we only need to spend some hours (in my case, several evenings but because I have built three at the same time!).
Materials
- 2 and 4mm Foamed PVC or Forex
- PVC (plasticard)
- Tin sheet
- Different tubes (i.e. from cotton swab)
- Wire
- Silicon rod (from hot melt gun)
- Glue lids (or something similar, take a look at the pictures)
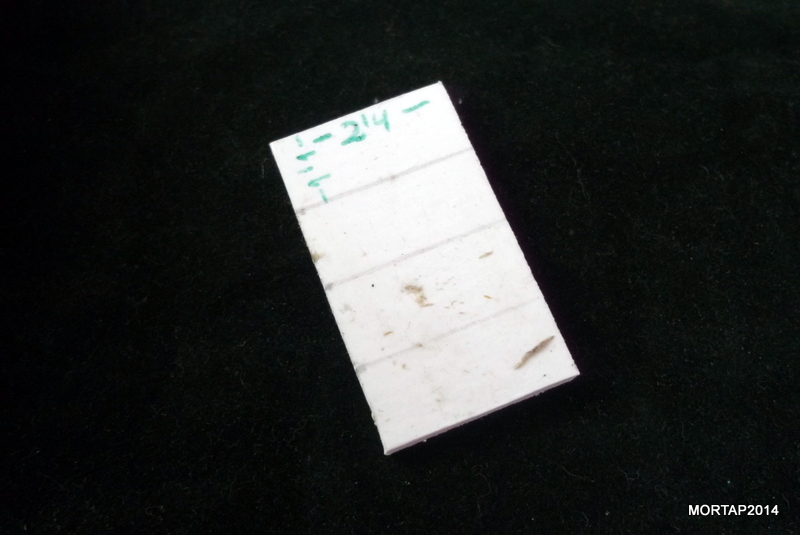
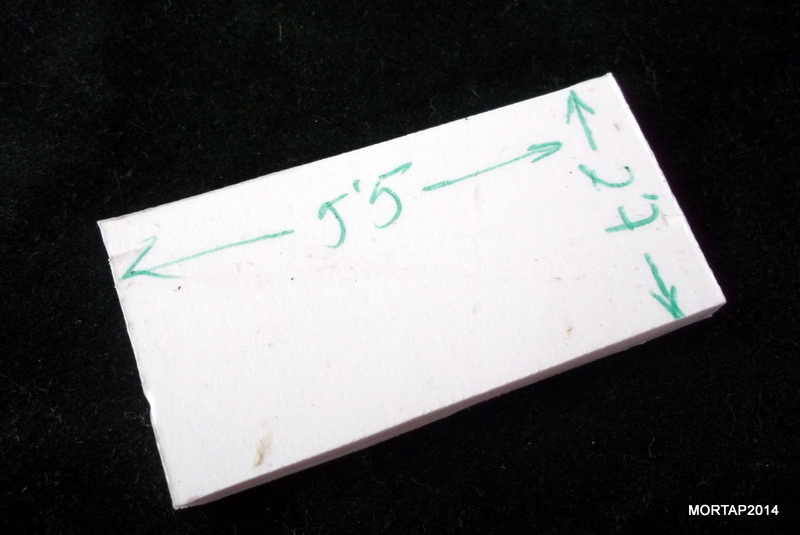
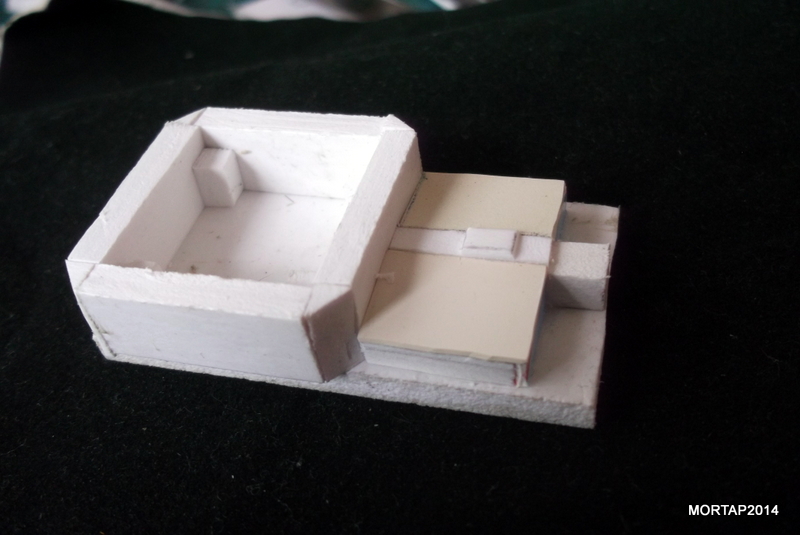
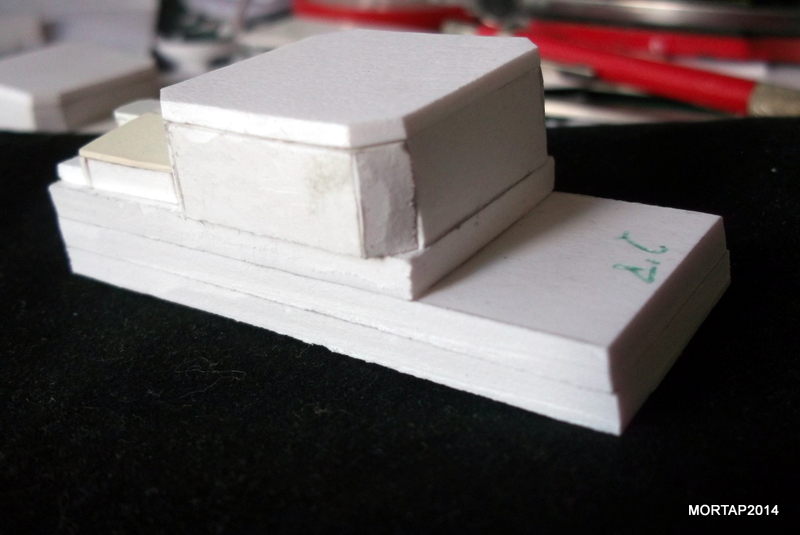
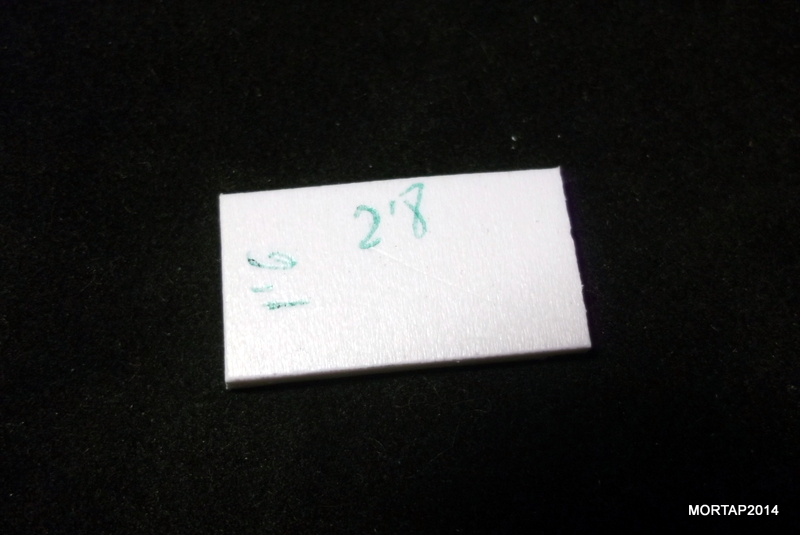
First we cut the 4mm PVC in four pieces of 1.1 x 2.4 cm, and another one of de 5.5 x 2.7.
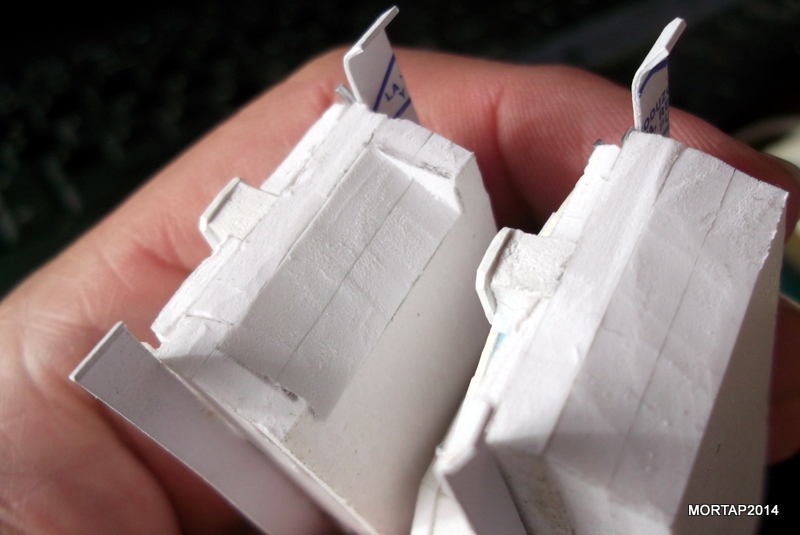
 Put together these five pieces following the picture. I have reinforce the corners with small buttresses.
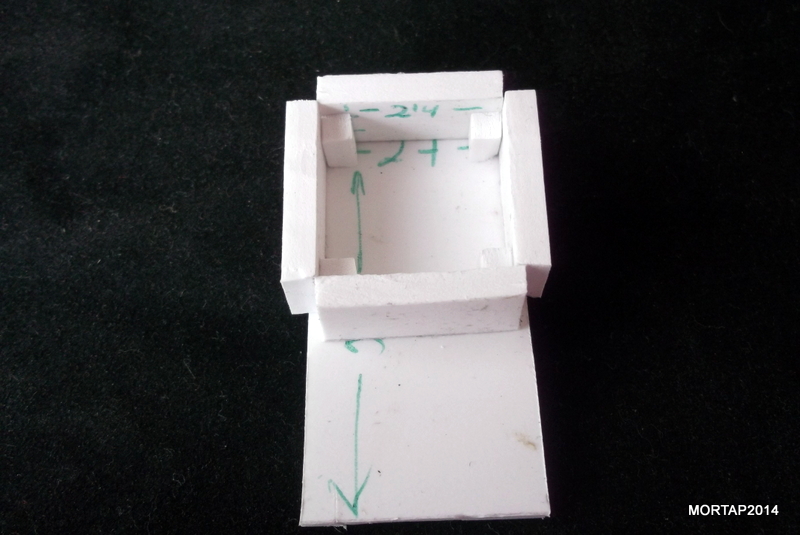 I have also cut some PVC stripes of 4x4mm that we can use to simulate the motor box and corners.
 I have closed the motor box with PVC (plasticard) and with 2mm PVC I have increase the high of the central area. Look the pictures.
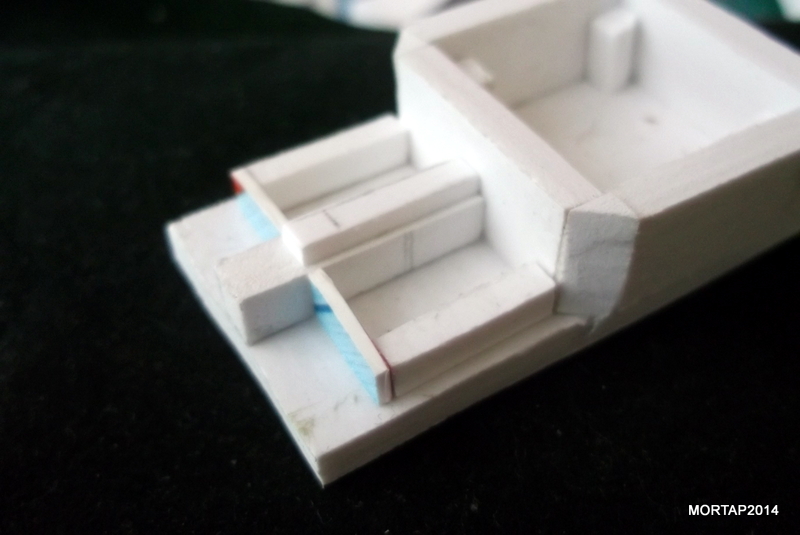
 The cabin is made with a 2mm PVC square of 3.1 x 3.1cm. With a 6x6mm PVC (plasticard) piece I have decorate the motor protuberance.
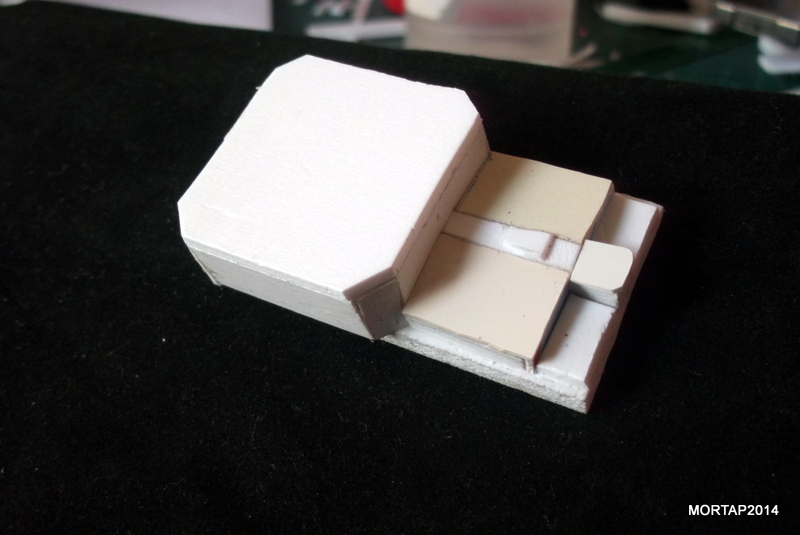 Cut and glue two 4mm PVC pieces of 7.2×2.7cm following the pictures:
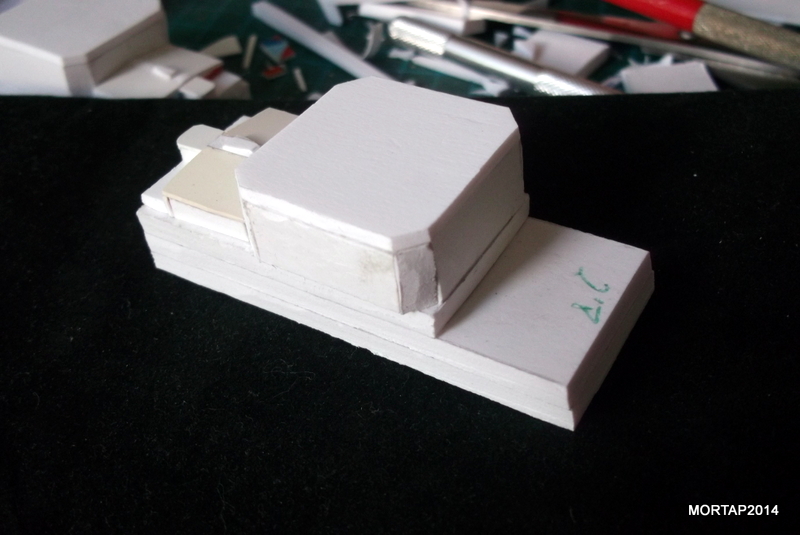
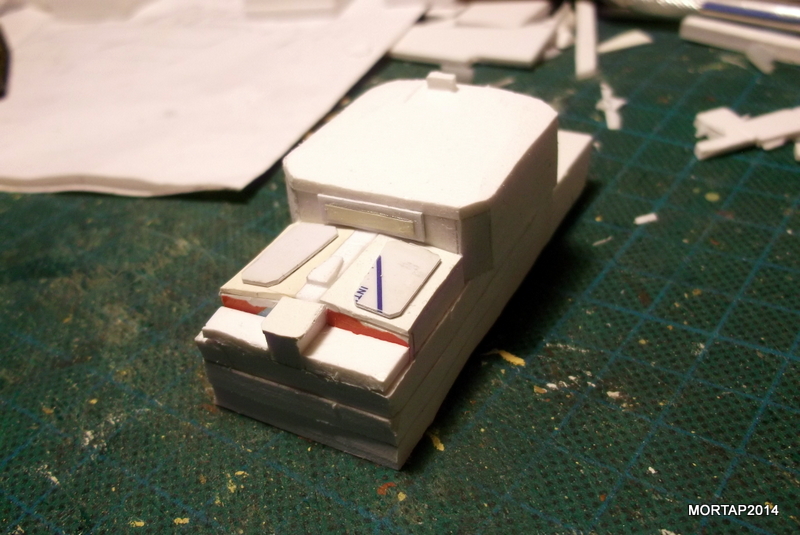
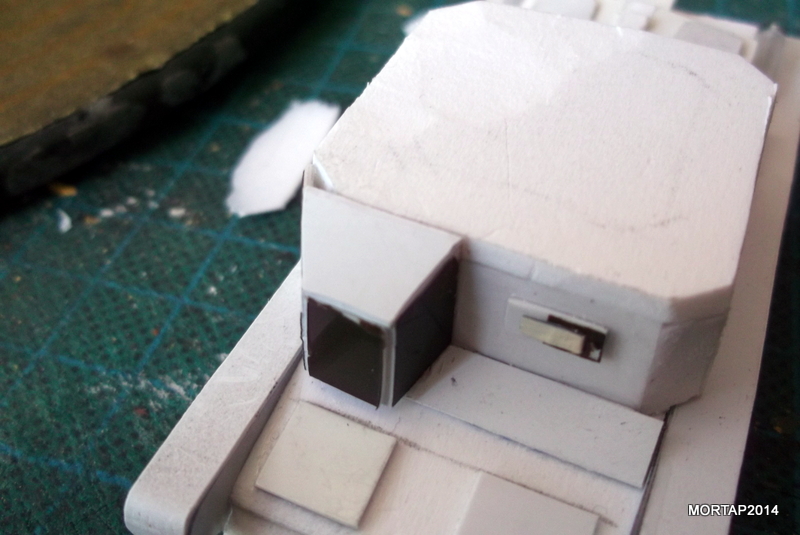
With PVC (plasticard) we can create details such as motor hatches or the driver window.
 Cut a 2mm PVC piece of 1.6×2.8cm to simulate the glacis, and two tripes of 0.5×8.5cm to simulate the mudguards.
 The three tanks are really similar until now, expecting the Carro commando which doesn’t have superior visor.
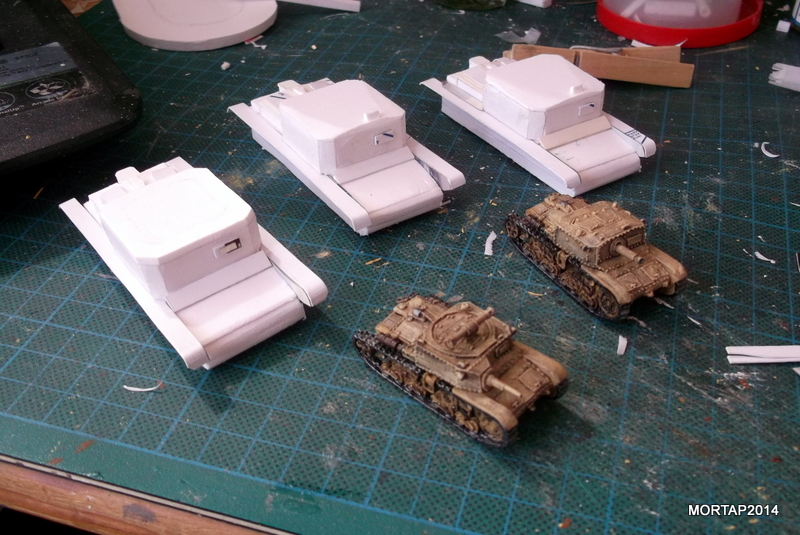
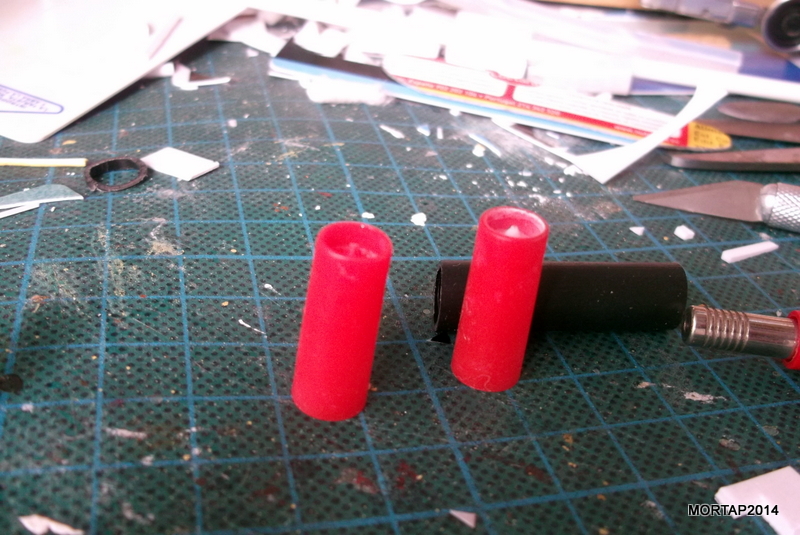
We create the exhausts using a small plastic tube and wire.
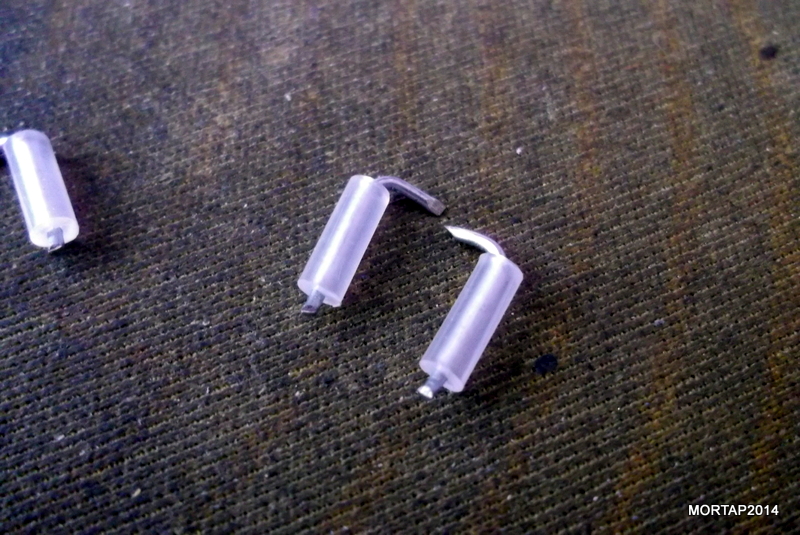
With the same tube we can simulate the Semovemente gun.
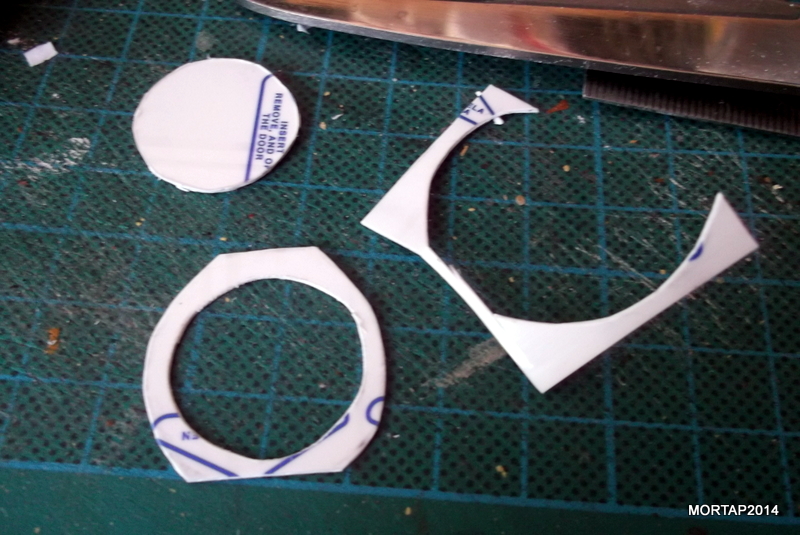
 The gun shield (or joining point) is a small circular piece of a silicon bar (melting pistol).
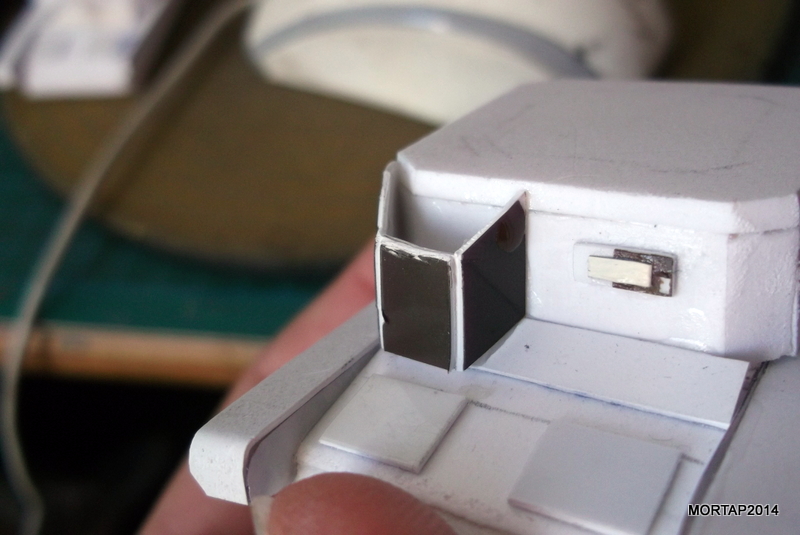
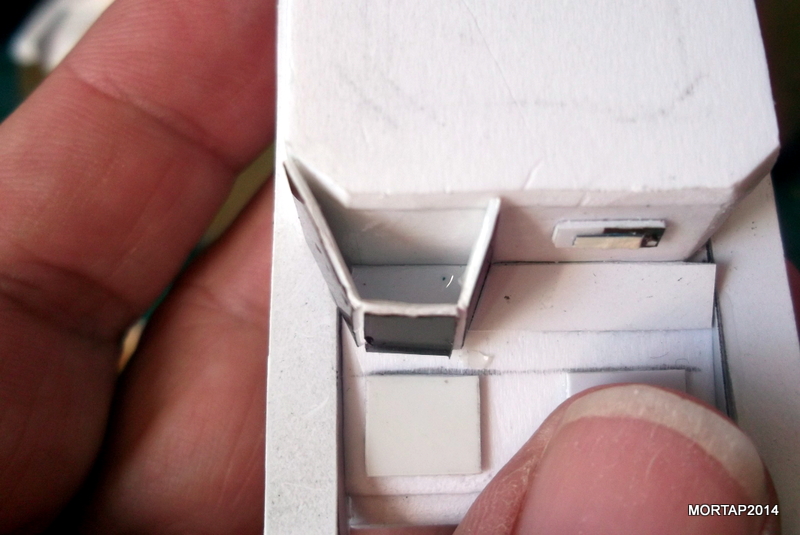
With PVC (plasticard) we prepare the front part where the Carro Colmando has the gun. We can also create couple of frontal hatches cutting squares of 7x8mm.
 With a modeling knife we cut the rear area following the picture. We can simulate the inclination of the mudguards with pliers.

With PVC (plasticard) we closet he gun “box”
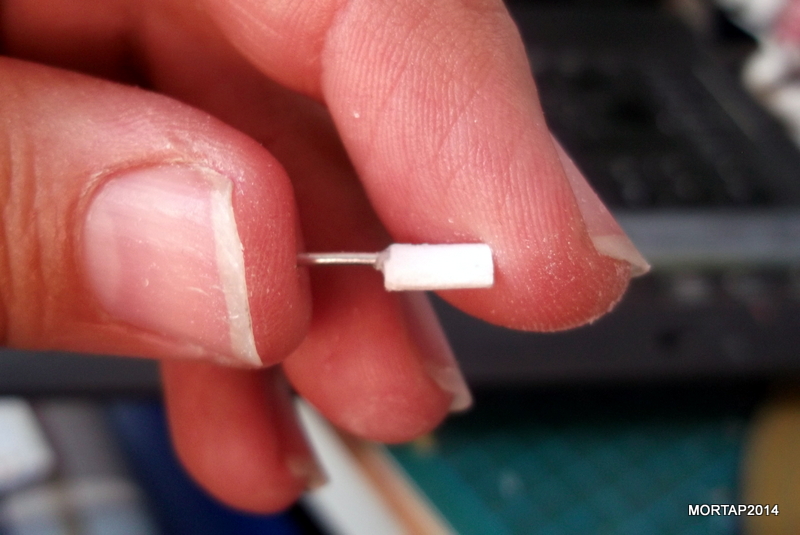
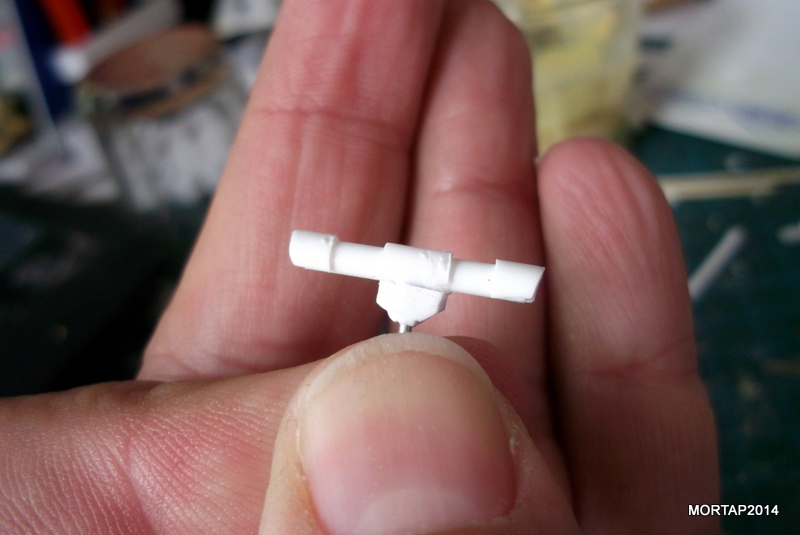
 With a small 2mm PVC fragment and wire we create the gun.
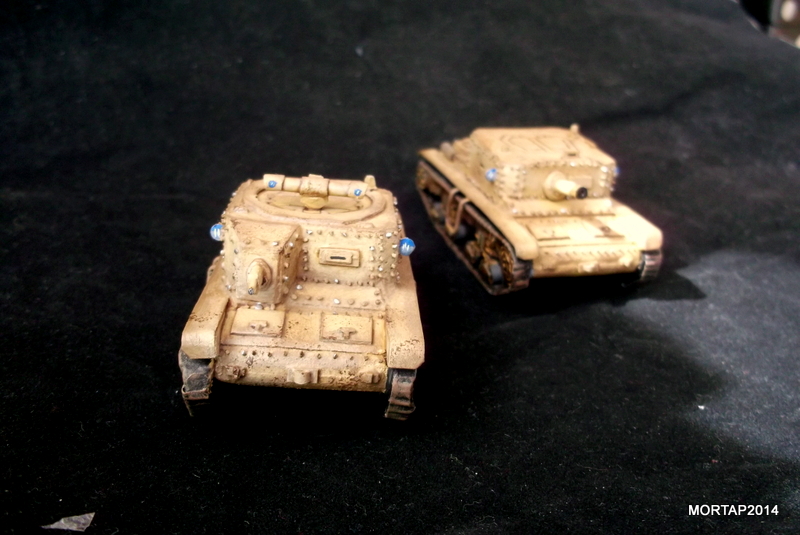
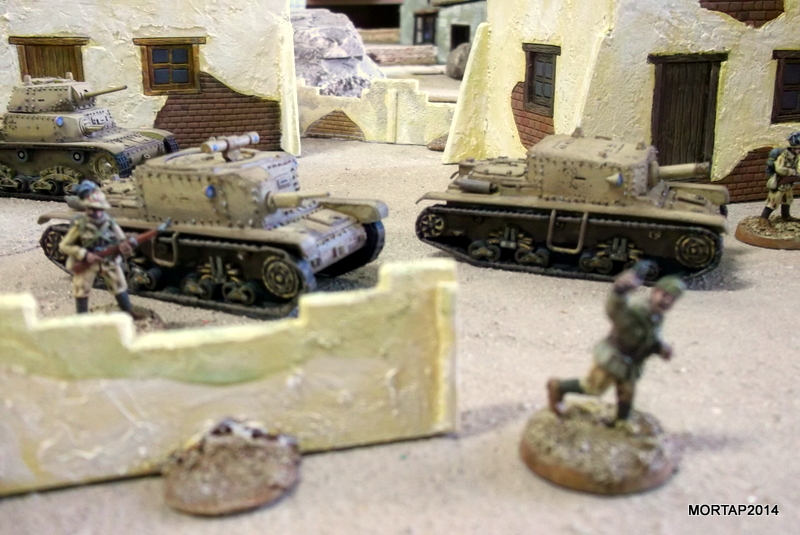
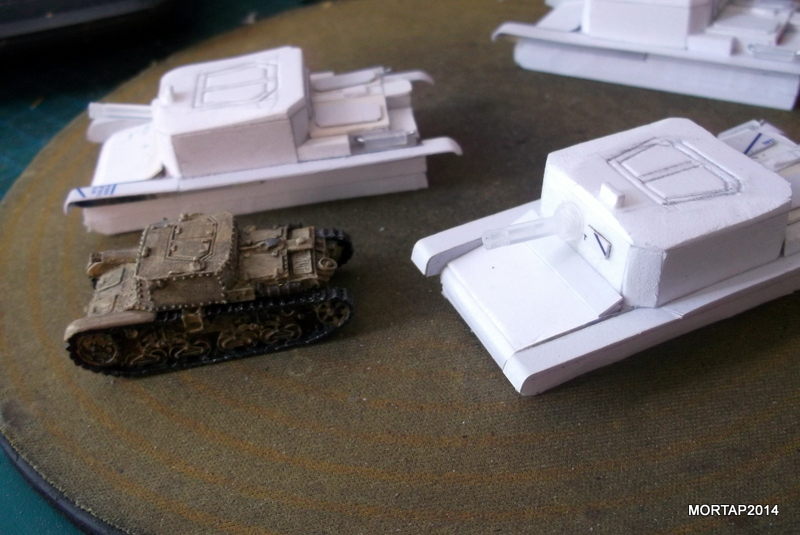
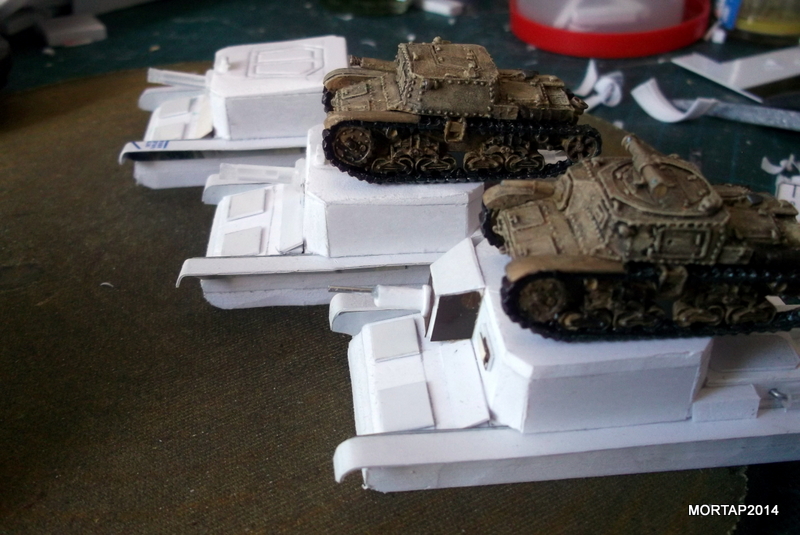
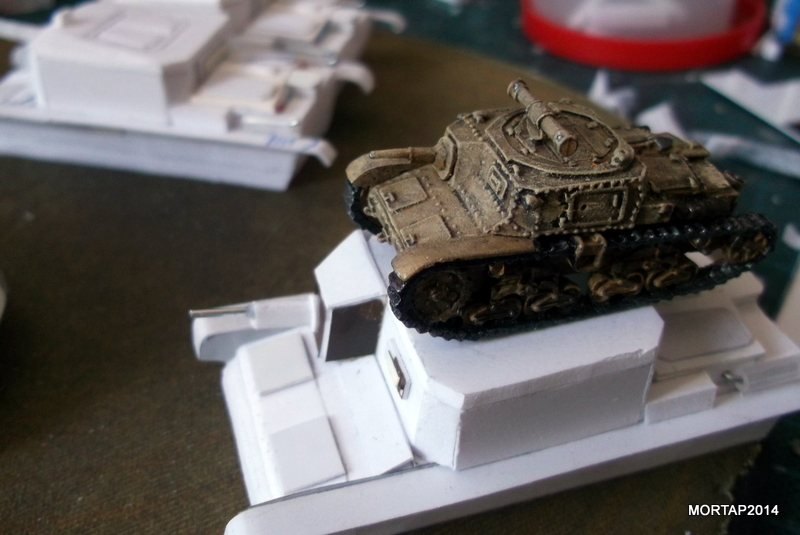
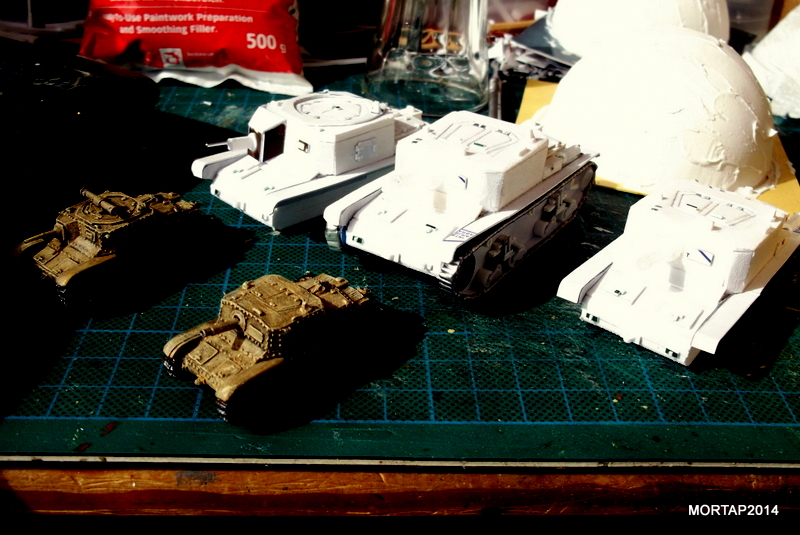
 In the following two pictures we can see how the tanks look, compared with 15mm versions.
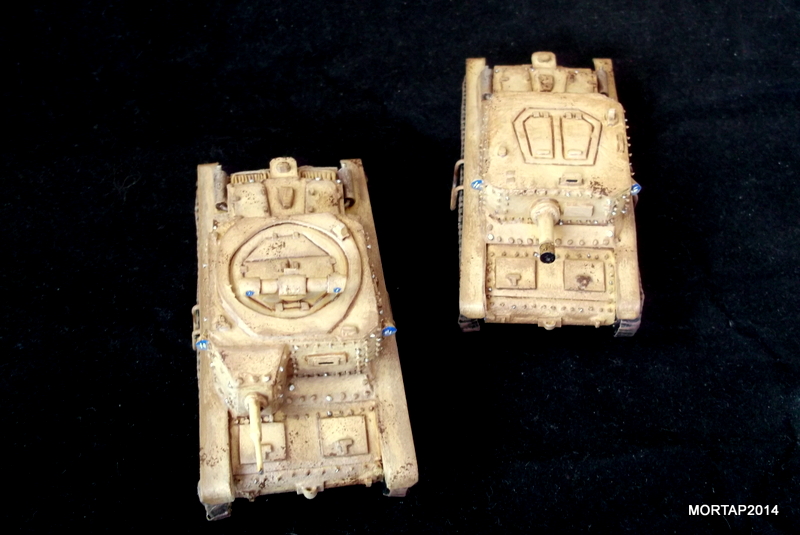
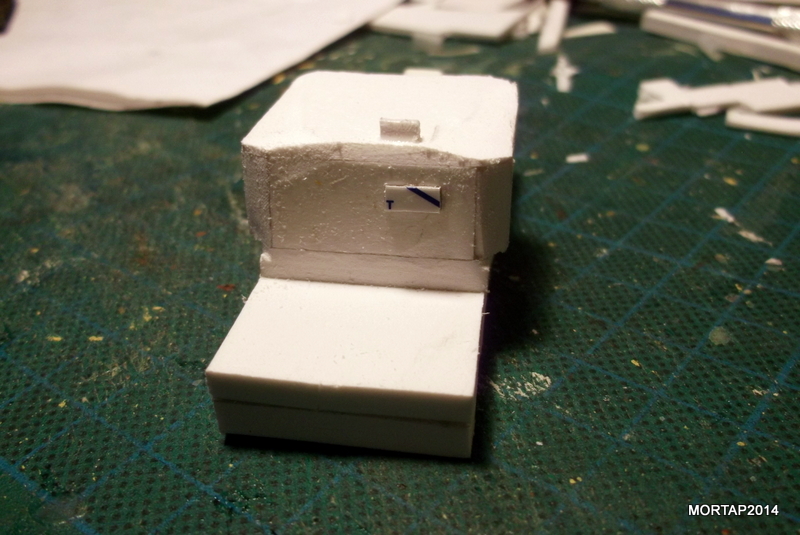
 We cut a square to cover the superior part of the Carro commando.
 We cut the rear with a knife to simulate the original detail.
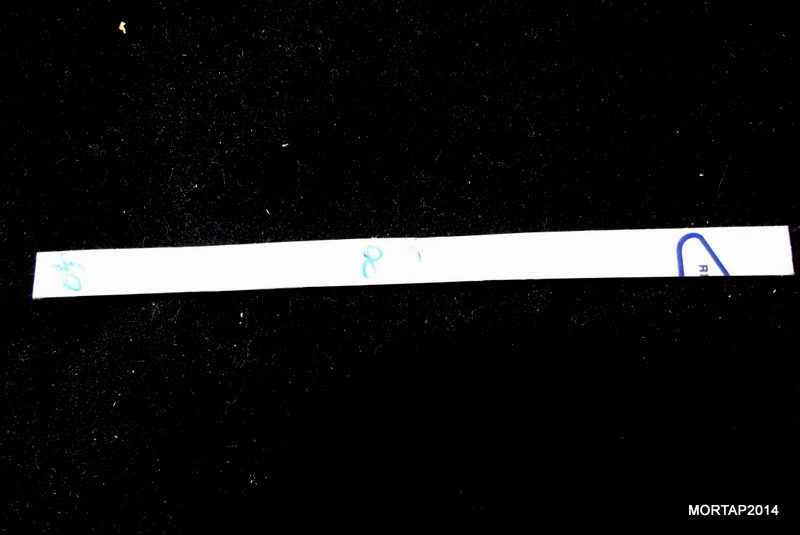
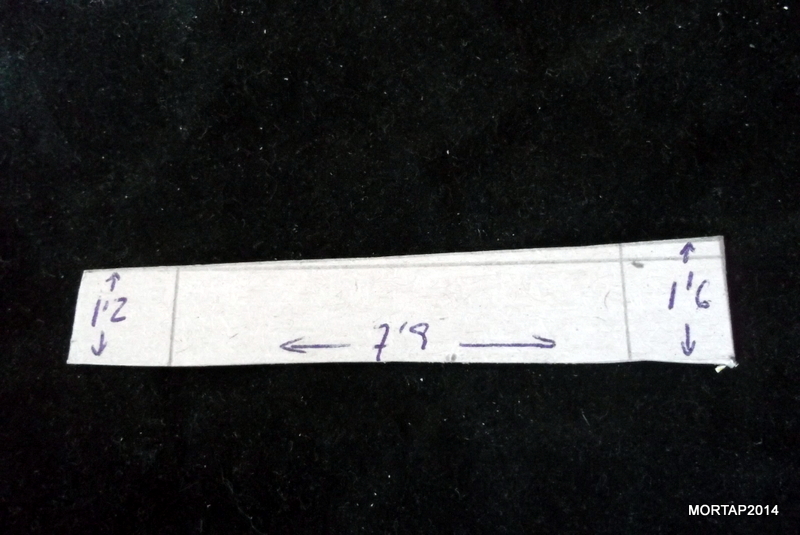
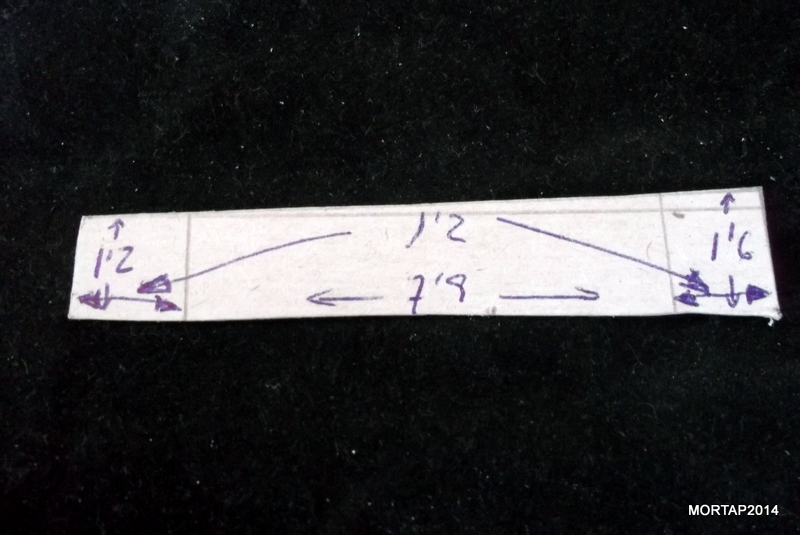
With cardboard or paper, using the sizes showed in the picture, we can create a template to build the tracks.
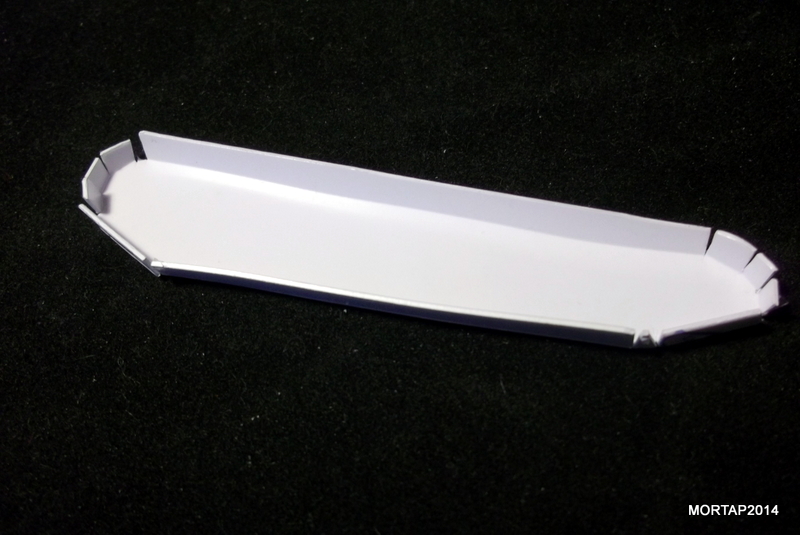
We prepare the base of the tracks with PVC (plasticard) with 4mm (plus the template):
Remember that the tracks are not symmetric, and therefore we have to do the same template but inverted for the other side.
Fold the track’s base.
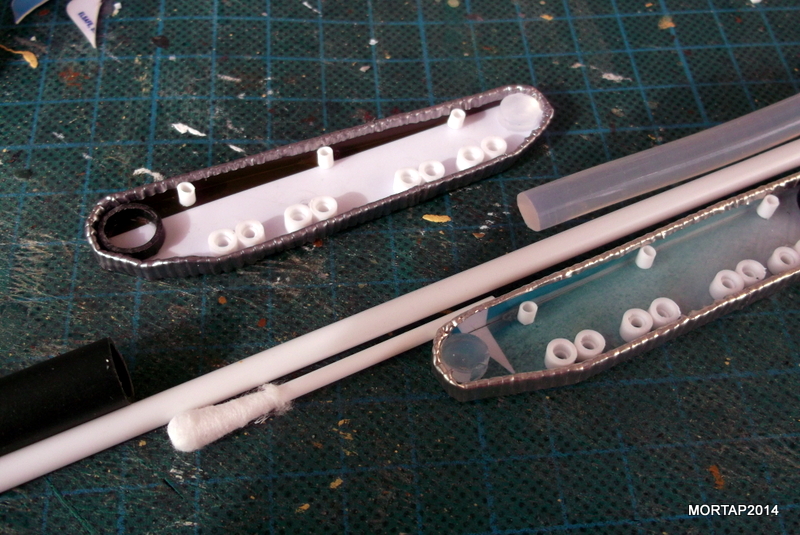
 Cut two tin stripes of 0.7×18.5cm. With a sculpting lancet and over a smooth surface we sculpt the tracks. First one side and then the other.
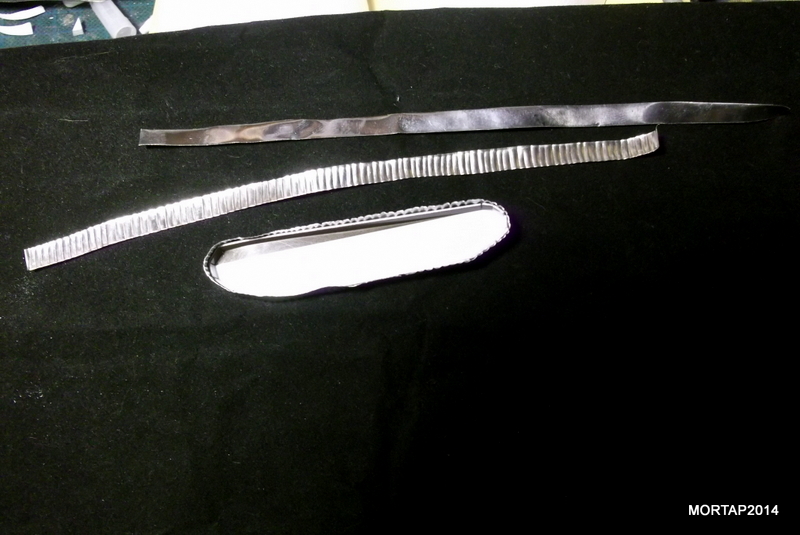 Glue the tracks with cyanocrilate:
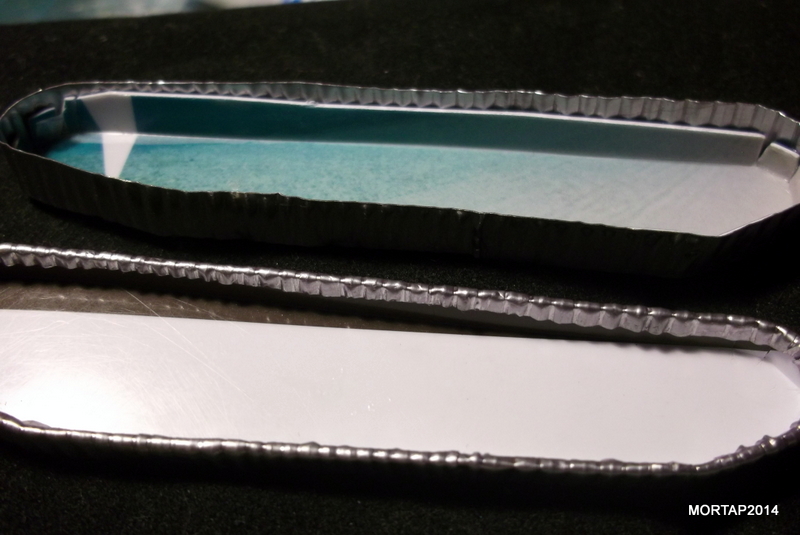
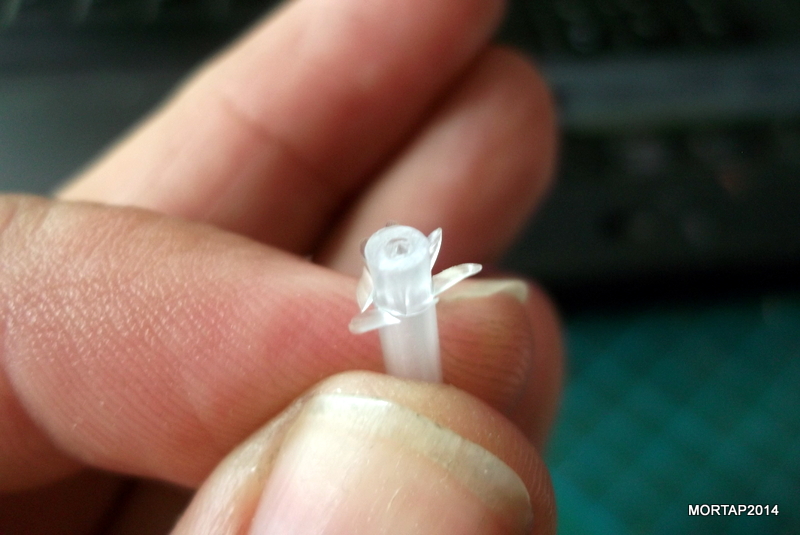
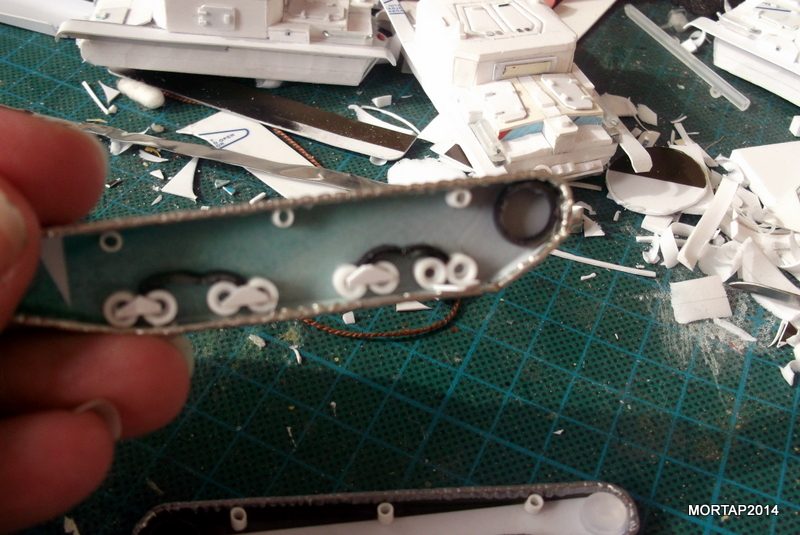
With different plastic tubes we create the driving part of the tracks, as you can see in the pictures.
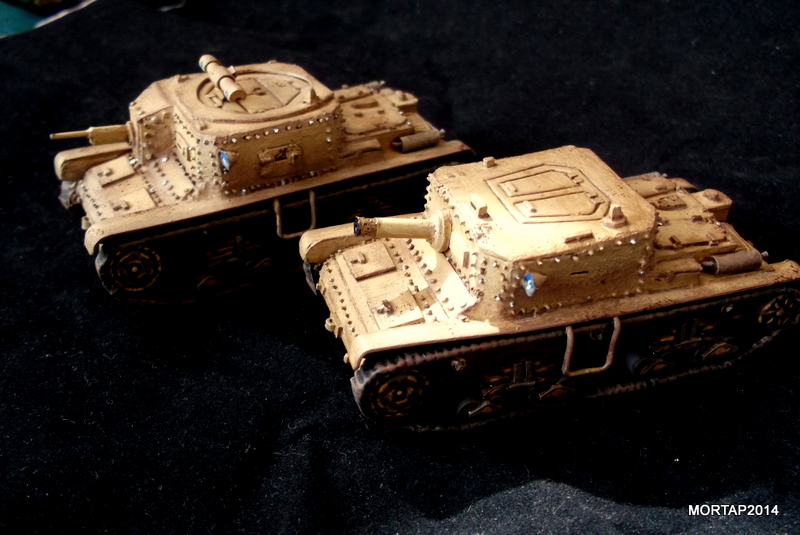
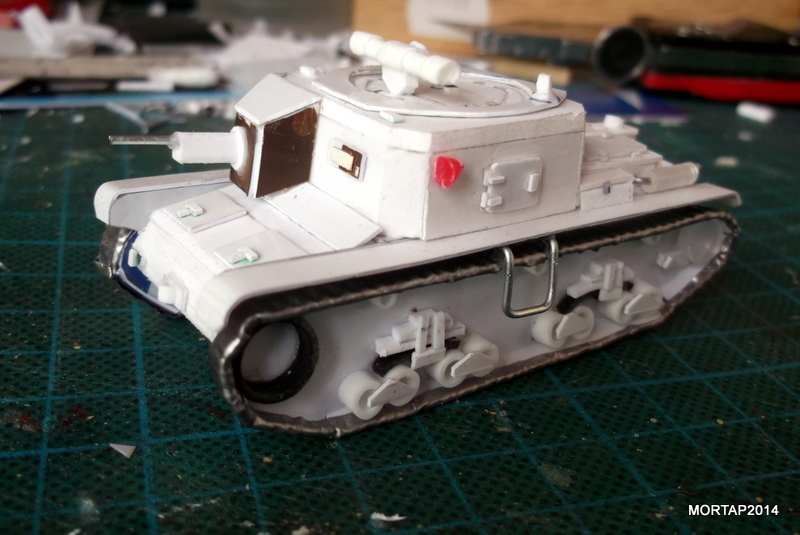
The tanks should look something like this:
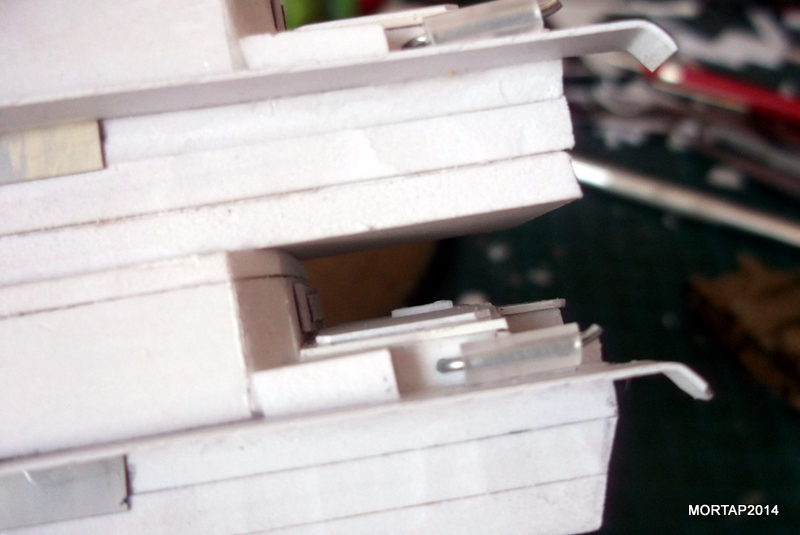
From the glue taps we only need the “perforator” to simulate the lights.

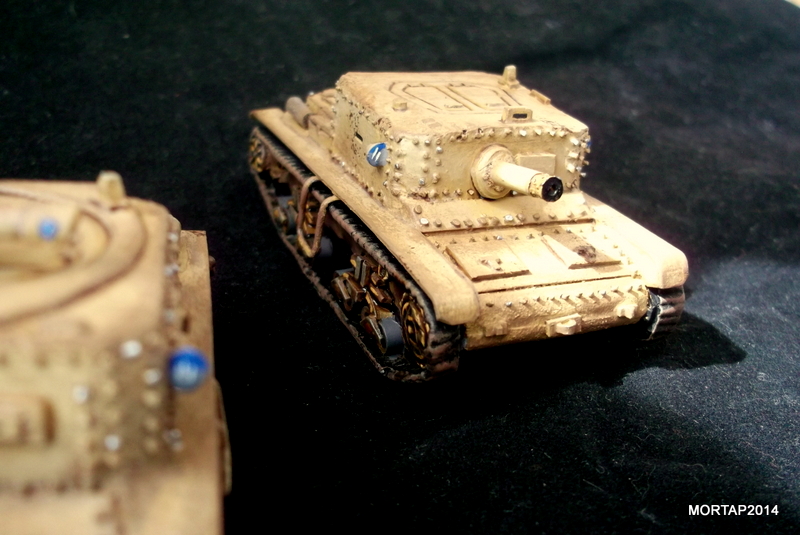
We can build the telemeter with a fragment of wire, 2mm PVC and a cotton swab.
 Now we have to decorate a bit the vehicles with wire and PVC (plasticard).
With modelling putty we review the tracks, gaps and other small errors.
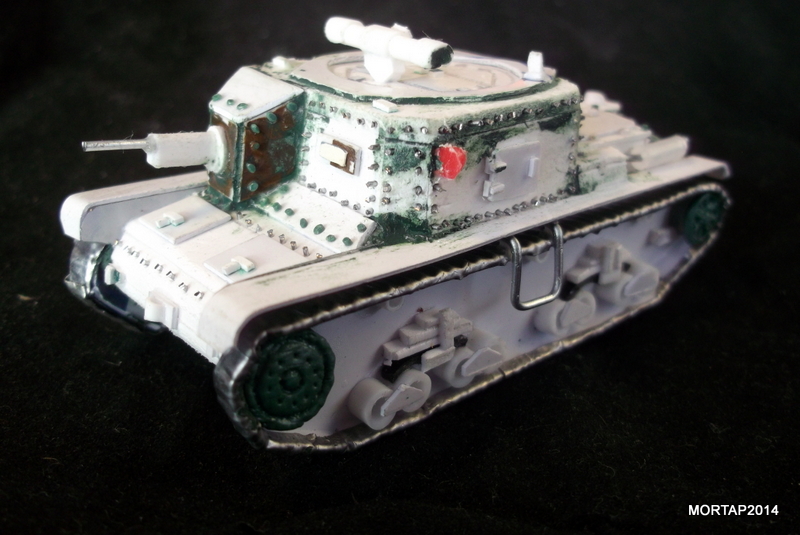
To create the rivets I have created a hole, introduced fine wire and then cut it.

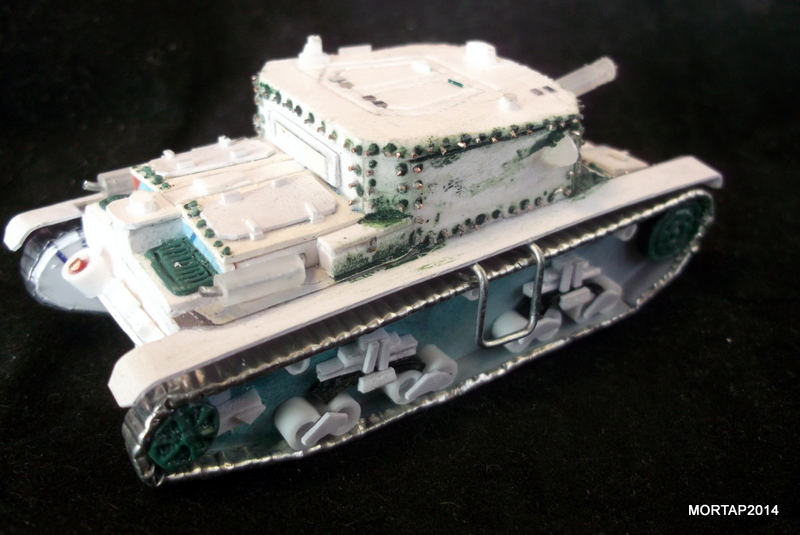

It has taken long hours, but the final results is very convincing! Now, we only need to paint it.