After assembling the tracks on the tank and retouching some chipping, it’s time to end with it by adding the fuel barrels and painting the tank commander.
I made a mistake applying some Vallejo varnish to the pigments on the tracks, as I moistened most of them destroying their original color. 🙁
Otherwise, I like the achieved weathered tone. It doesn’t look like the one I had in mind, but I’m happy with the ‘mistake’.
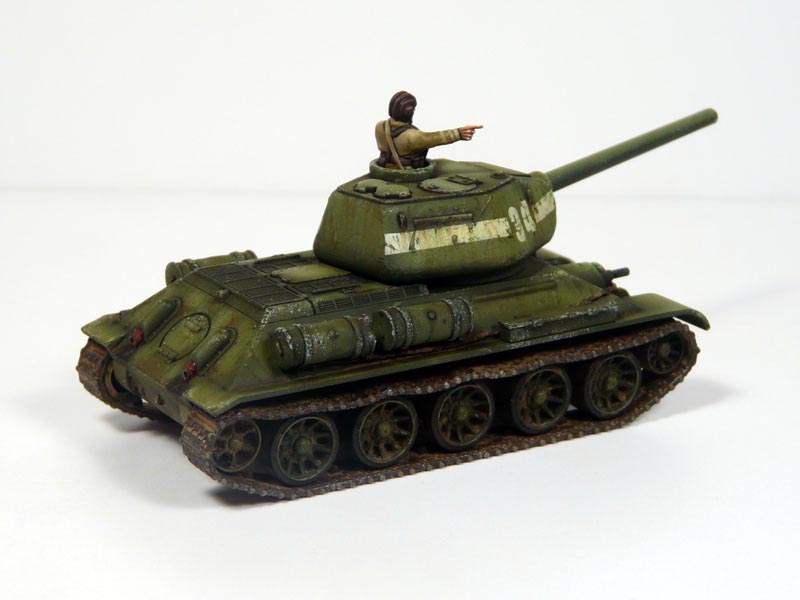
The tank commander has been painted with Vallejo acrylics, and a satin coat of satin varnish has been applied with airbrush (Marabu Seidenmattlack) to all of the tank. So here they’re, the final pics of the T-34:
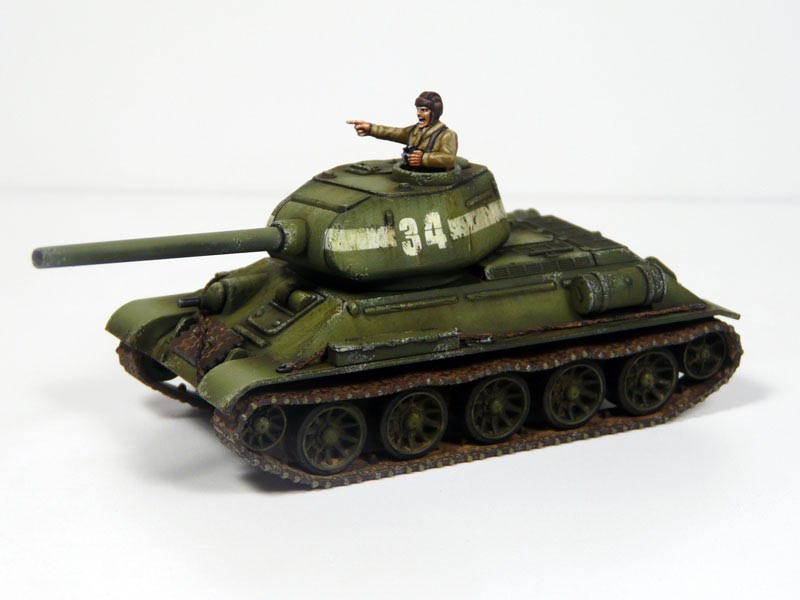
And with these pics, I close the WIP and the T-34 goes to the showcase. Now I’m going to continue with a Panzer III platoon from Battlefront (Afrika Korps) and two Hummers from IrishSerb (a gift from HeresyBrush), but I want to continue with my 1/72 collection.
So the next 1/72 could be a Sturer Emil or a Panther A with Zimmerit… what do you think?? 🙂
To see the other parts of the WIP:
Está fantástico! Estoy comenzando con los t34 de plastic soldier, los primeros tanques rusos que pinto, y ojalá me queden la mitad de bien. Hubiese estado bien unas fotos de los efectos de iluminación antes de hacer los escurridos y la cinta blanca.
El color estupendo, me estaba preguntando qué color usar para el tanque, el xf58 parece buen color, aunque estoy harto de usarlo para los USA :).
Qué le hiciste con la dremmel?
Lannister
Hola Gonzalo!
Jolín, me alegro mucho que te guste!
El color es justo XF-58. Pero, en vez de aclararlo con Buff como hago con los americanos, lo aclaro directamente con blanco para que agrise un poco y se diferencie del verde USA.
Es posible que tenga fotos de antes del weathering, si las encuentro hago un ‘update’ y te aviso.
Con la Dremel lo que hice fue imitar el blindaje, la rugosidad que tiene. En el modelo original, las planchas son completamente lisas. Con la Dremel y una fresa redonda pequeña, pero importantísimo que sea a la menor velocidad posible. Tiene que ser una Dremel de gama alta para que puedas bajar de 10k rpm. Si tienes un taladro grande, muchísimo mejor porque puede girar a muy pocas rpm. Se nota mucho el resultado, sobretodo en la segunda foto, en la torreta y en la zona de los tubos de escape.
El tip fue idea de mi tío Nacho, y lo hice siguiendo sus consejos… GRACIAS!