After painting the tank hunter version I wanted to paint the main battle tank. Using the fantastic model of Heer46, I decided to remove the most part of the side skirts and to use a bitonal yellow-grey camouflage.
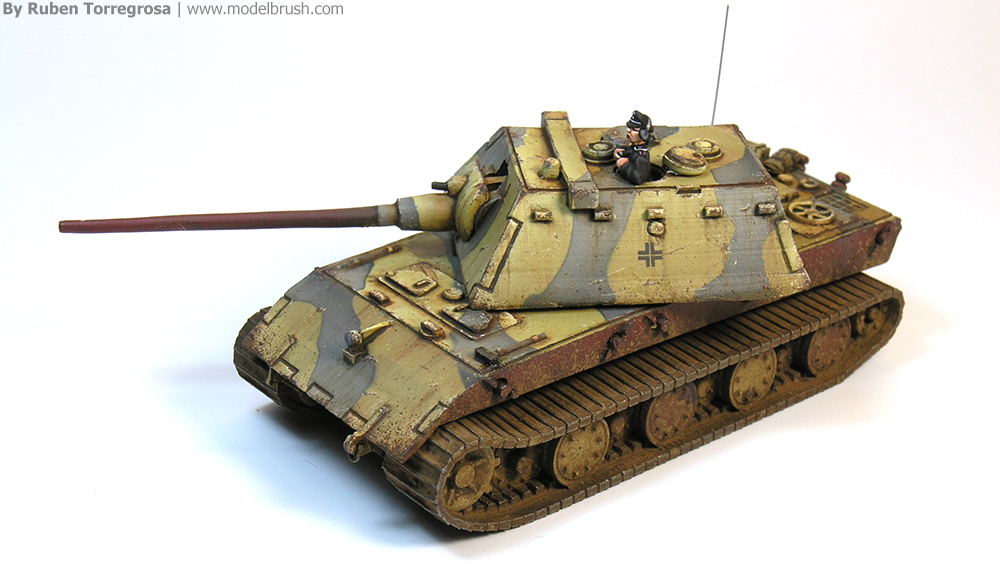 When I started this project I was quite doubtful about the camouflage. First I thought about a tritonal, but I was not convinced because this kind of camouflage is very very common in German tanks. Finally, I decided to follow an interesting pattern I saw on internet, but including the grey color. I love the bitonal camouflage done with yellow and grey, and this is very rare to see in «paperpanzers» (of course, they never existed!). Next, I had to decide between smooth or hard edges. Finally, I chose hard edges (using masks), because the enormous panels of this vehicle are perfect to practice the modulation, while with smooth edges you can´t work the modulation technique.

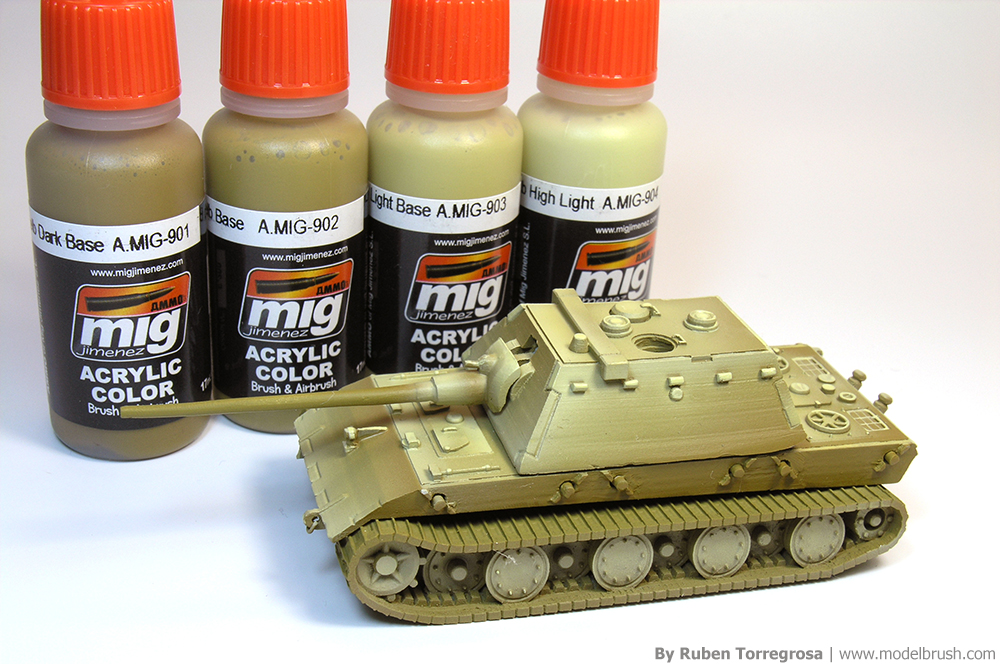
Because the dominant color would be the yellow or dunkelgelb, I started painting this color. And with this purpose I used the modulation set for Dunkelgelb from Ammo of Mig JImenez, a new company derived from AK-Interactive and leaded by two great modelists, Miguel JIménez and Carlos Cuesta. I usually use at least four colors when I modulate my vehicles: shadow, base and two highlights. And I apply one more light using a brush in the small details, like rivets, or irregular ones, such as hatches.
 Next step was apply a mask with blu-tack, and then apply the grey color. Because I used a mask, I could also apply the modulation on this color, and I follow exactly the same orientations used in the yellow. Currently I rarely use decals. Instead, I use stencils. Although there are not stencil for 1:100 scale, you can use 1:76 ones. I use Scale Link stencils, and they work perfectly fine!. I prefer stencils because the result is more clean and real. And they are more easy to use than decals!.

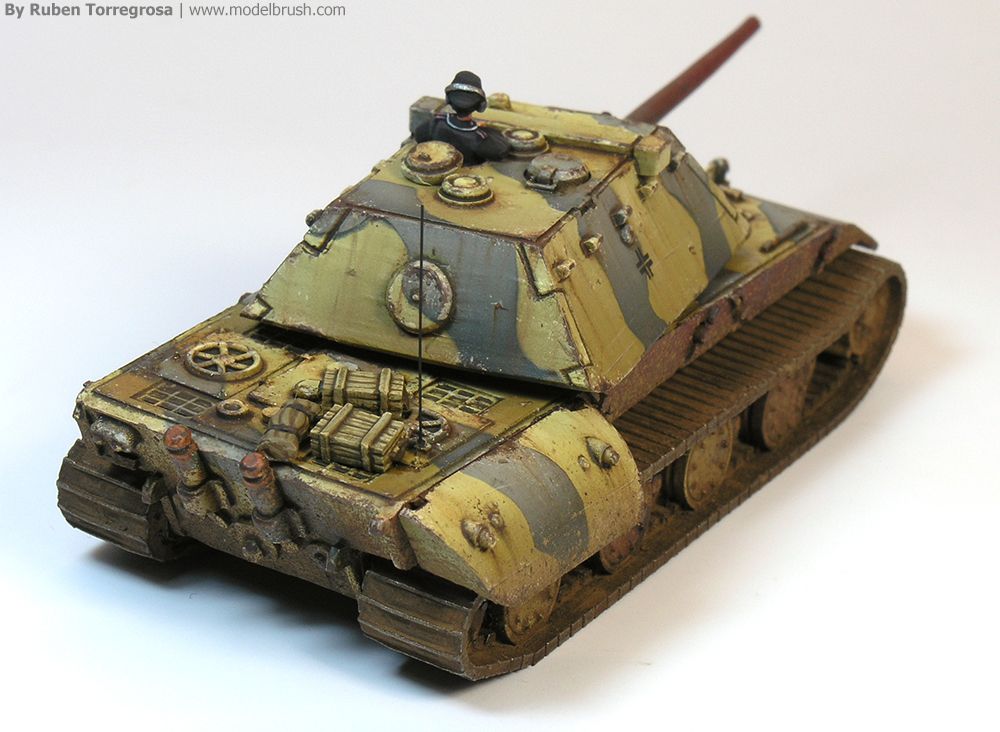
After applying satin varnish, I started the weathering effects: filters, chippings, streaking, and splashes of dust/dry mud. In addition, I use some wet effect from Ammo of Mig to recreate fuel and oil stains. Once all weathering effects were totally dry, I added some details, such as wooden boxes, the aerial and one tank crew from Battlefront.

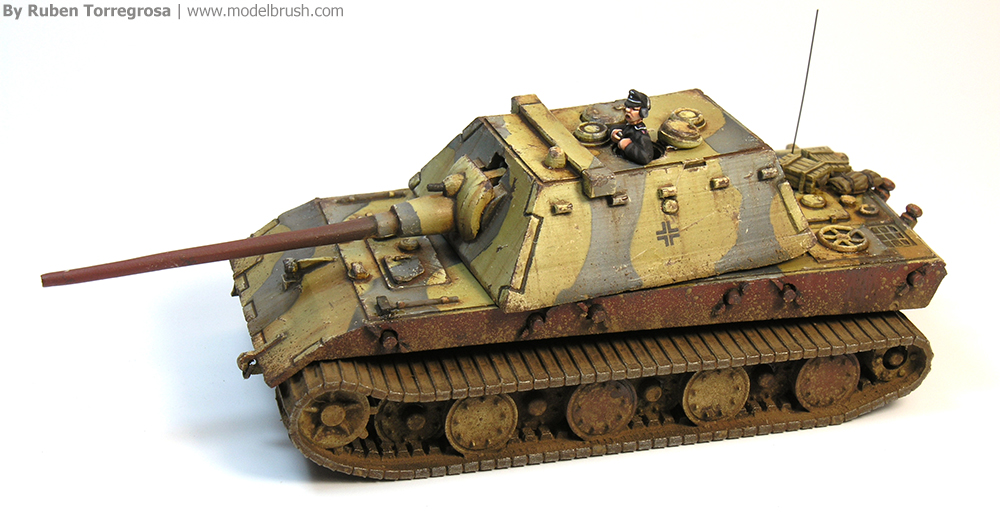 If you are interested in a complete step by step of this vehicle, with a lot of painting tips and pictures, you could it find in the issue 72 of the magazine Wargames:Soldiers&Strategy, due out in May of 2014.