After applying decals for the 15th Armored Division (Panzer Regiment 8), it’s time for washes. And to explain that, I’ve recorded a videotutorial showing how I apply enamel washes. Let’s ride!
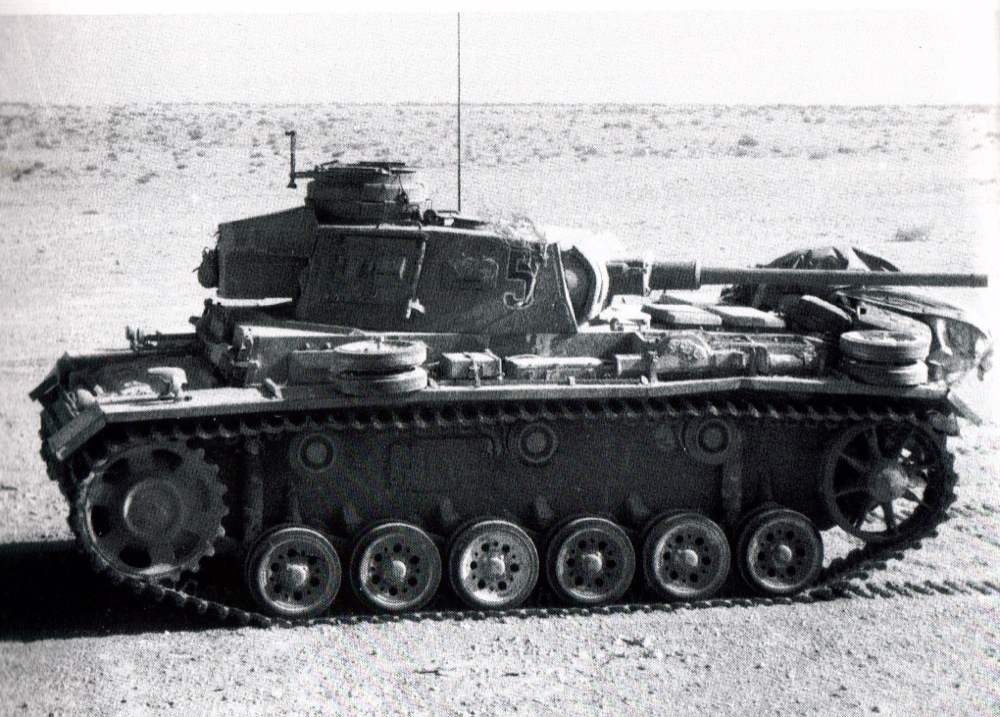
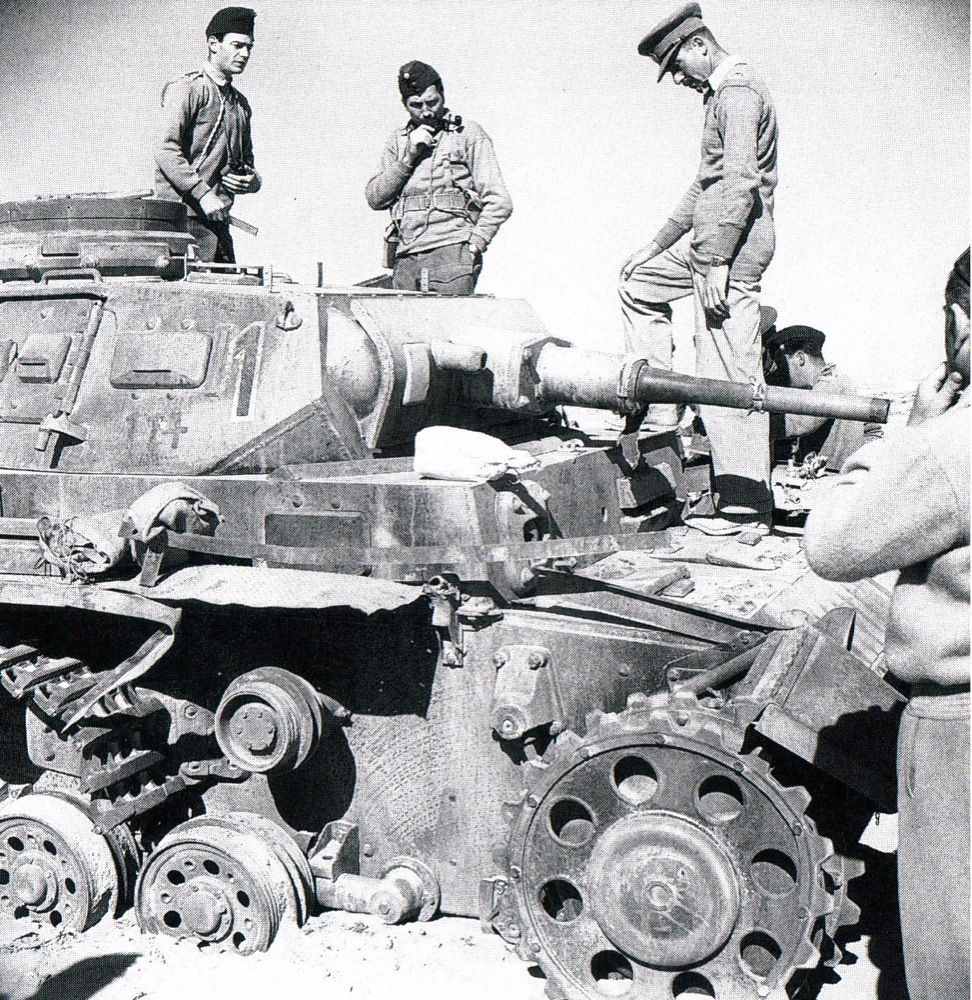
 First of all, I decided to represent the Panzers as the ones from the 15th Armored Division in North Africa. Inside this Division, the regiment was the 8th Panzer Regiment, with almost 110 Panzers III and 20 Panzer IV.
This regiment had 2 batallions, each of them with 4 tank companies (and other companies without tanks, of course).

So, in total, 8 companies of battle tanks.
To recapitulate, the organization of the 15th Panzer Division in North Africa was, showing only battle tanks:
- Other regiments, like infantry, artillery, communications, maps, transport, etc.
- Panzer Regiment 8
- 1st Batallion
- 1º Kp.: 17 Panzer III
- 2º Kp.: 17 Panzer III
- 3º Kp.: 17 Panzer III
- 4º Kp.: 10 Panzer IV
- 2nd Batallion
- 5º Kp.: 17 Panzer III
- 6º Kp.: 17 Panzer III
- 7º Kp.: 17 Panzer III
- 8º Kp.: 10 Panzer IV
- 1st Batallion
Note that the companies with Panzer IV were the 4º and 8º companies.
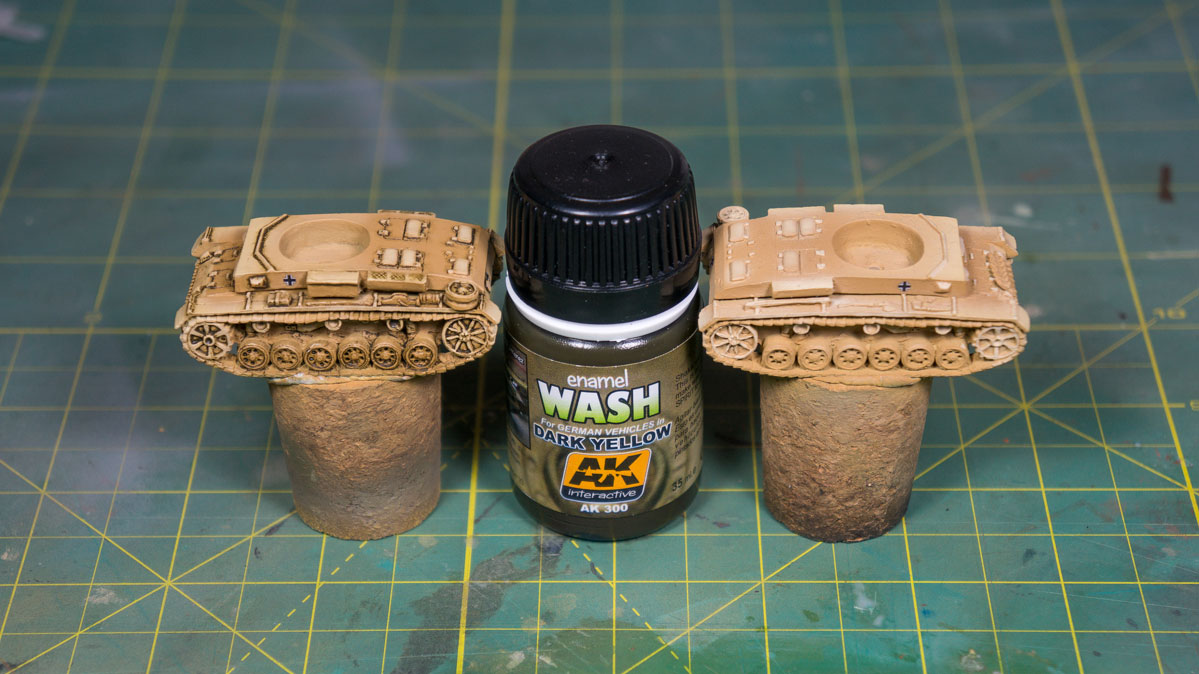
And for my tanks, I decided to make 3 of them (the ones with the short L/42 gun) of the 1st Company and the other two (longer L/60 gun) of the 5º Kompanie. This will let me to enlarge forces with more tanks in the future, like two complete companies, the 1º and the 5º, each with 5 tanks. The models used in this WIP are Battlefront’s GE033, wich comes with both L/42 and L/60 guns.
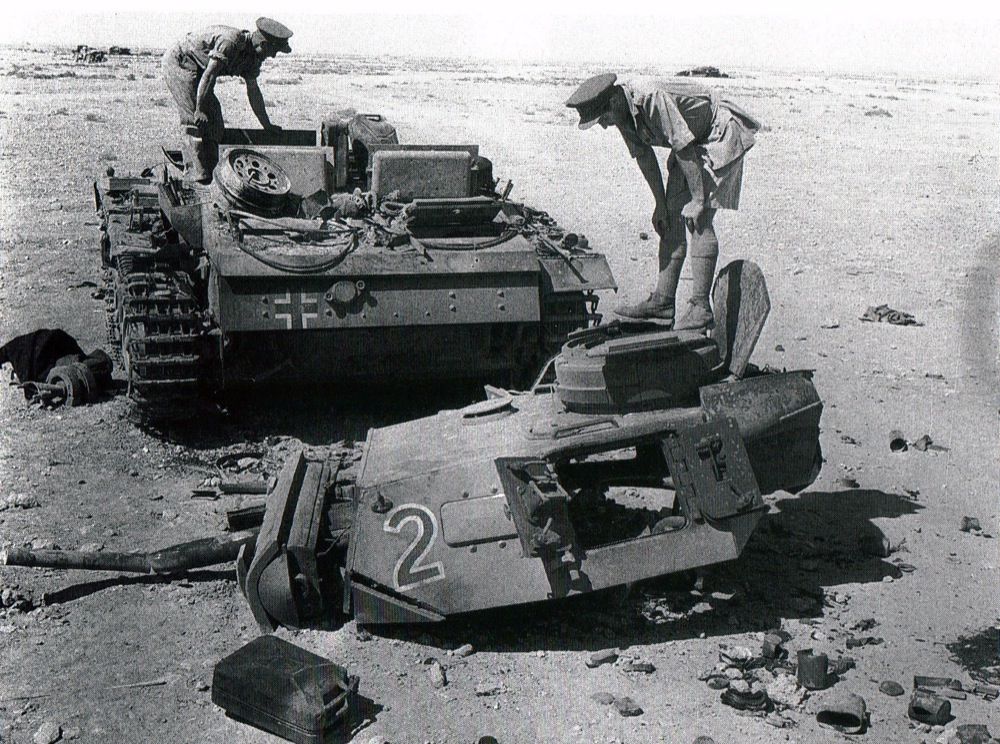
Talking about the markings, the 15th Panzer Division used only one number on their turrets, unlike the most common 3 digit german numeric system. They omitted the platoon and tank numbers, using only a single oversized number for the company:
- 3 common digit system: 232 (2º Kompanie, 3º Platoon, 2º vehicle)
- 15th Panzer Division: 2 (2º Kompanie)
So, no markings about platoon or vehicle number.
And finally, let’s talk a little bit about modelling and painting, cause that’s why many of you are here, and not to hear about stupid organization or numbering topics 😉
Once the decals are in place and dry, I varnish the entire models with satin varnish from Marabu. That will help the enamel to run smoothly over the surface.
I apply the washes without care. I don’t mind if I mess it up, because I can clean it with White Spirit or turpentine when it dries.
The enamel wash used is: AK300 Dark Yellow from AK Interactive range.
And this is what I’m showing in the video.
I’ve recorded the entire process, from start to finish without taking anything apart.
I’ve divided the cleaning process in two steps: cotton buds and small brush. If you only do the cotton bud step, cleaning a tank will be less than 10 minutes. In my case, with the two steps, the complete cleaning took more or less 25 minutes, that’s why the video plays at x3 speed.
Hope you like it and see you in the last part of this Panzer III platoon Work in Progess!!!
If you want more, you can read the other two parts of this WIP:
WIP – Battlefront Panzer III J Platoon – Part I
WIP – Battlefront Panzer III J Platoon – Part II Base color
Gran vídeo. Para cuándo algo a 1/16…?
Oh, demasiado grande y difícil para mí! 😉
Hi angusin,
Thanks a lot for your interesting tutorial, I’ve some Dak panzers to paint, and your work will help me. I’d like your opinion about the varnish layers to use for sealing 15mm models. As they are often hand manipulated on the game table, I wonder if we should increase the number of layers of varnish ? How many layers do you apply, and what kind of varnish ?
Regards.
Vincent.
Hi Vincent, thanks for your comment!
I usually give the tanks 2-3 sprays with the airbrush, with diluted satin varnish from Marabu.
This will ensure a non pure satin finish but also a non pure matt finish. It’s difficult to explain 🙂
So, it’s like one satin layer, but as it’s diluted and with airbrush, I need to spray more layers (as I said, 2-3 layers).
The varnish I use is Marabu Seidenmatt-Lack, diluted with White Spirit. There is another one from Marabu, also satin, but acrylic.